
|
||
| Network Testing and Emulation Solutions |
|
|
||
| Network Testing and Emulation Solutions |
Installing Fedora is the first step to building a LANforge machine. You might be doing this when you are installing to new hardware, doing an OS update, or replacing a failed hard drive. LANforge should work on most releases of Fedora, but please ask your support contact for a suggested version.
LANforge 5.3.7 on Fedora 27 was the most recent combination as of this writing.
We want to begin with:
cd /home/lanforge
tar -cvzf lf_state.tgz license.txt DB config.values
On a CT52x chassis, you can open the bottom of the case by turning the unit over and unscrewing the rubber feet. When you open this back panel of the chassis, you will see a SSD attached to the inside of the bottom panel.

There are a number of utilities you can use to write ISO files to USB sticks, but here are two recommened methods: 1) the Fedora Media Writer, and 2) Rufus.
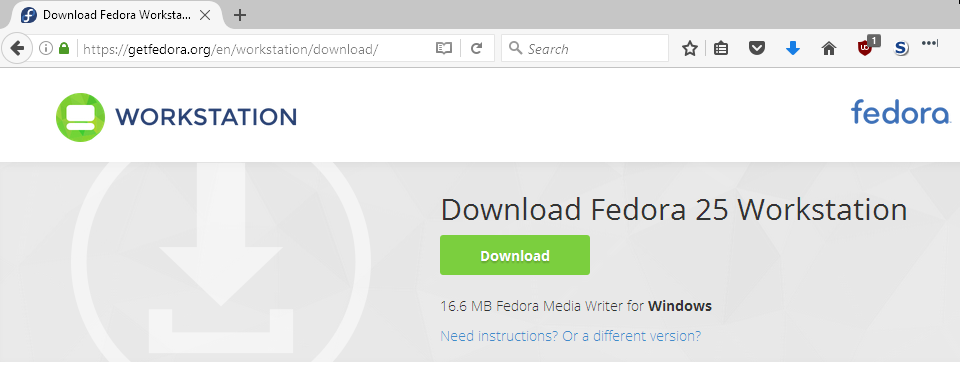
The Fedora project provides the Fedora Media Writer as their default Windows-oriented download. It is simple to use, and you can use it to write any ISO file you downloaded earlier. The following series of screenshots shows using it. There is also further USB creation information at the Fedora Wiki. Once you have written your ISO file, you should verify the SHA256 hash.
Start at The Fedora download page
and by clicking on the big green button, you download the Fedora Media Writer.
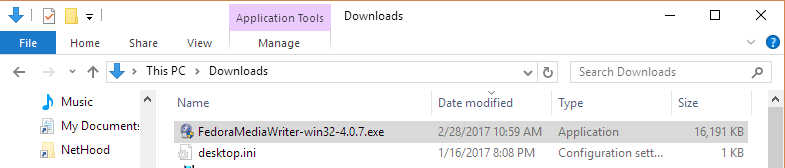
In your Downloads folder, double-click the installer to begin the install:
|
|

|
Launch the Fedora Media Writer and click Custom Image
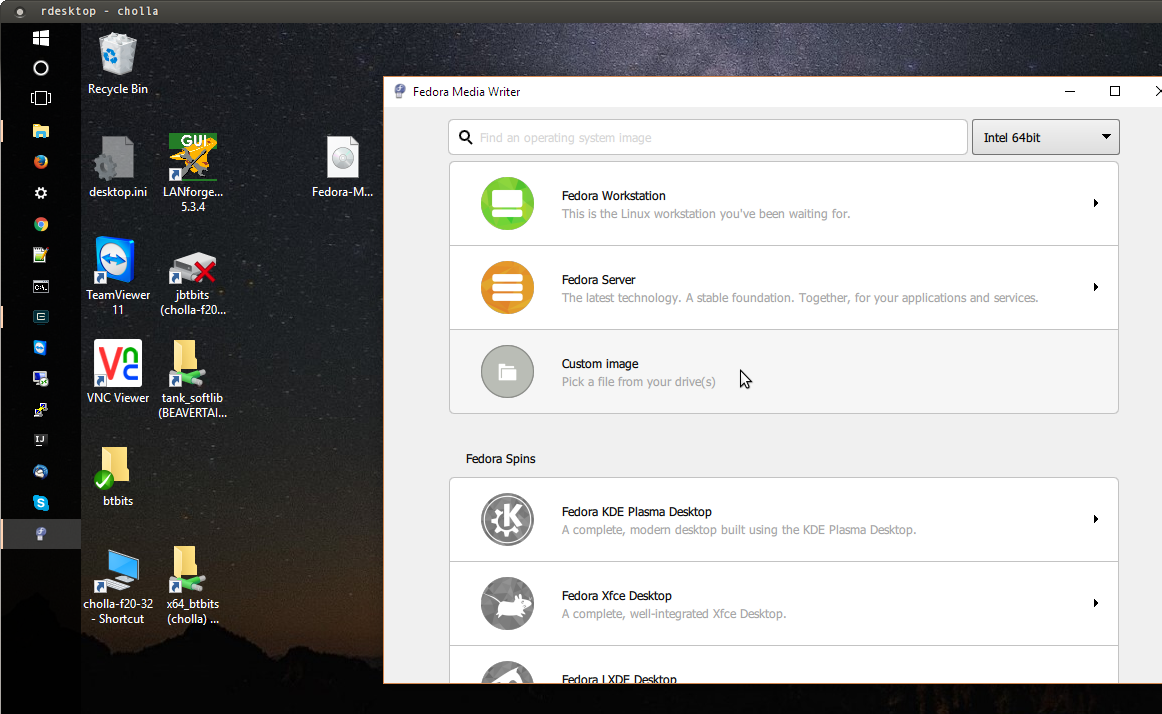
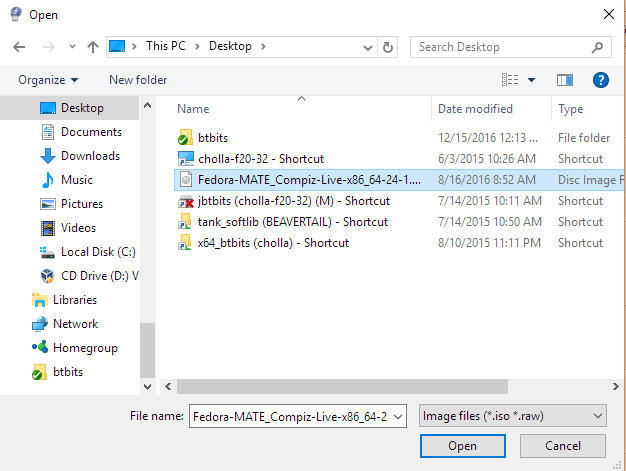
Select your ISO file:
Next, select your USB stick:
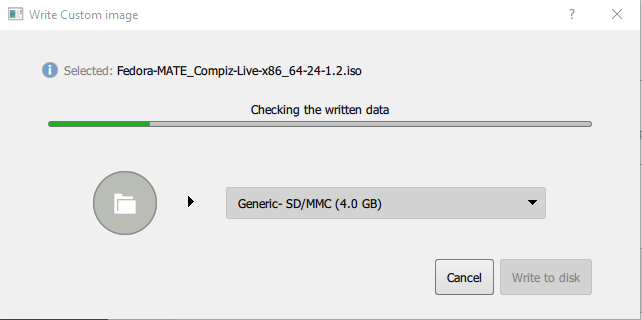
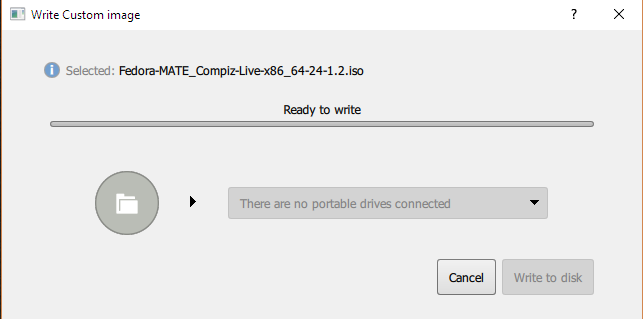 Selected:
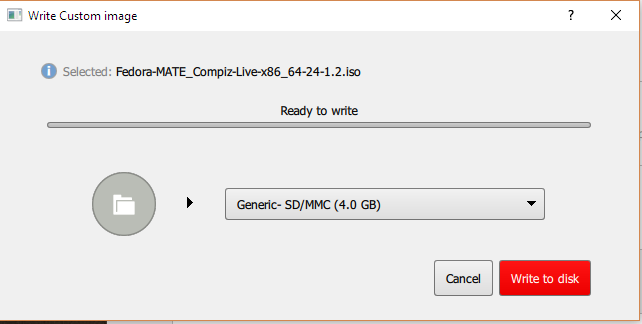
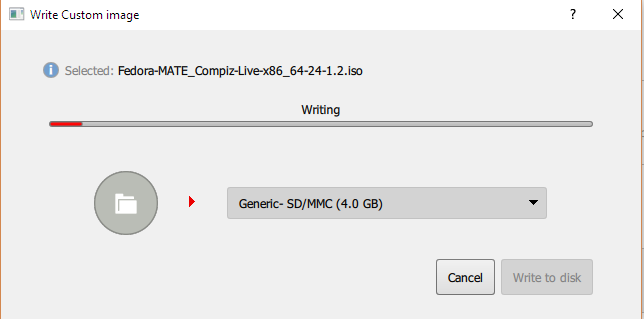
Click Write and the image will overwrite the entire contents of your USB stick:
|
|

|
Rufus is a Win32 USB writing utility. If you collect good Windows utilities, you might want to use this. Using Rufus is described in this LifeHacker article.
 $ dmesg | tail
[35246.926813] sd 6:0:0:0: [sdc] 7975296 512-byte logical blocks: (4.08 GB/3.80 GiB)
[35246.927397] sd 6:0:0:0: [sdc] Write Protect is off
[35246.927404] sd 6:0:0:0: [sdc] Mode Sense: 43 00 00 00
[35246.927905] sd 6:0:0:0: [sdc] No Caching mode page found
[35246.927910] sd 6:0:0:0: [sdc] Assuming drive cache: write through
[35246.932978]  sdc: sdc1 sdc2
[35246.935868] sd 6:0:0:0: [sdc] Attached SCSI removable disk
[35247.181511] ISO 9660 Extensions: Microsoft Joliet Level 3
[35247.183189] ISO 9660 Extensions: Microsoft Joliet Level 3
[35247.187857] ISO 9660 Extensions: RRIP_1991A
 $ lsblk
  NAME    MAJ:MIN RM   SIZE RO TYPE  MOUNTPOINT
  sda       8:0    0 119.2G  0 disk
  ├─sda1    8:1    0   953M  0 part
  ├─sda2    8:2    0     1K  0 part
  ├─sda5    8:5    0   953M  0 part
  ├─sda6    8:6    0    94M  0 part
  ├─sda7    8:7    0  46.6G  0 part
  └─sda8    8:8    0  70.7G  0 part
  sdb       8:16   0 119.2G  0 disk
  sdc       8:32   1   3.8G  0 disk
  ├─sdc1    8:33   1   616M  0 part  /media/jreynolds/Ubuntu-Server 15.04 amd64
  └─sdc2    8:34   1   2.2M  0 part
For this example, we'll assume your USB stick is /dev/sdc
 $ cd ~/Downloads
 $ sudo dd iflag=fullbock oflag=direct bs=4M if=Fedora-MATE_Compiz-Live-x86_64-27-1.6.iso of=/dev/sdc
That might take a few minutes to write.
There are two ways to get to the BIOS boot menu.


A default install of Fedora will work well enough, but some settings we require:


Once the installation completes, reboot the system as it suggests and while the system is rebooting, remove the USB stick. Make sure you can login as user lanforge and that you can open a terminal and use the command sudo -s to become root.
While in that terminal, do a sudo dnf update. This will speed up the installation of LANforge in the next step.
Also, F24 has a tendency to get hung up when upgrading nfs and/or rpcbind. You might have to issue these commands to help the upgrade move along:
sudo dnf clean all
sudo dnf update -y --best --allowerasing
After doing those upgrades, reboot the system again.
You can now proceed to our normal LANforge installation instructions.
