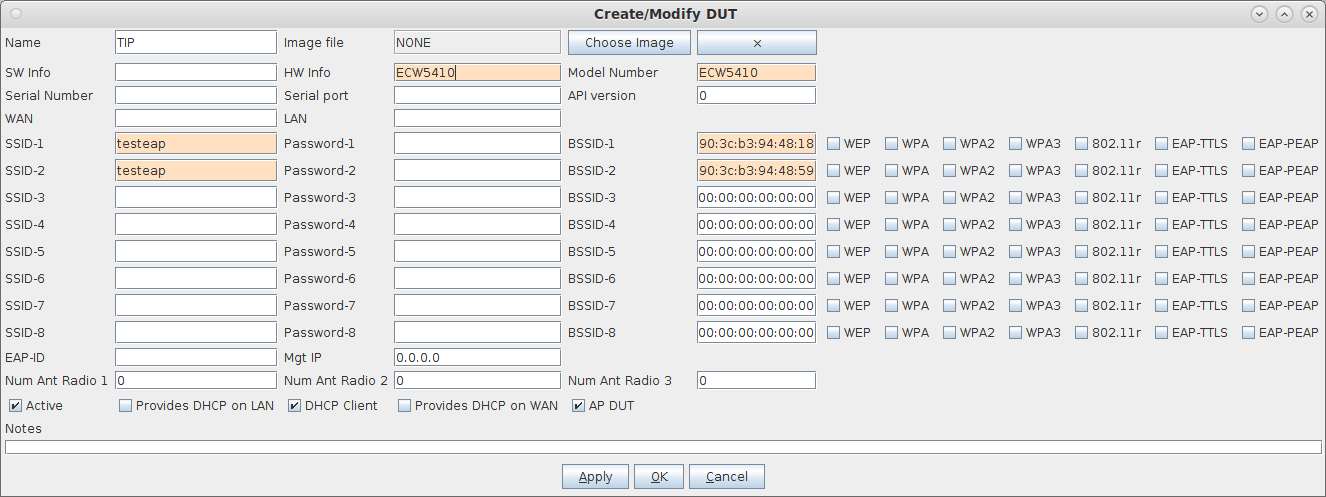
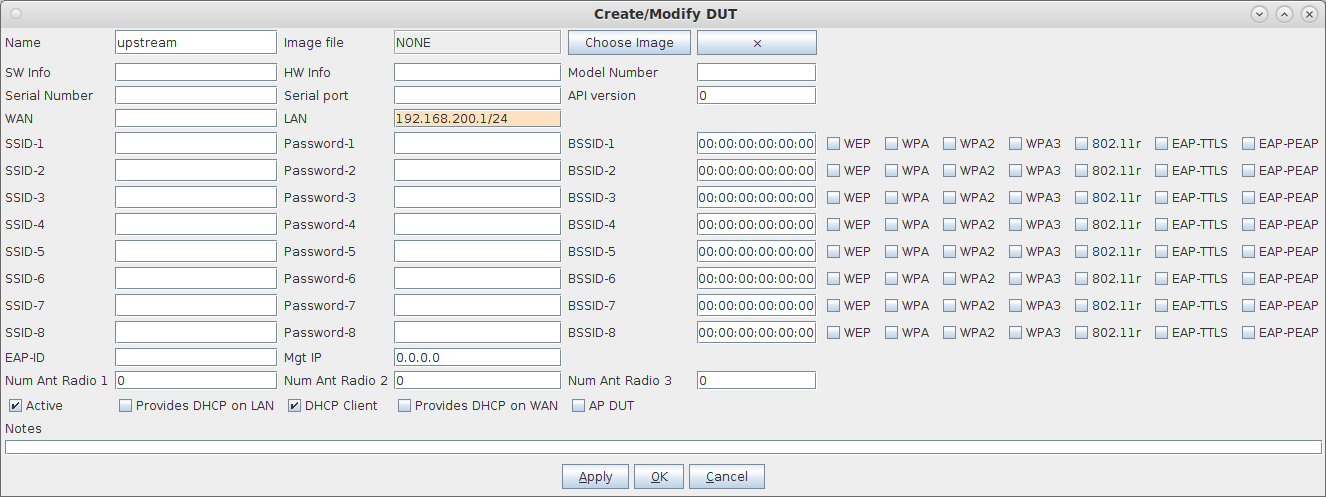
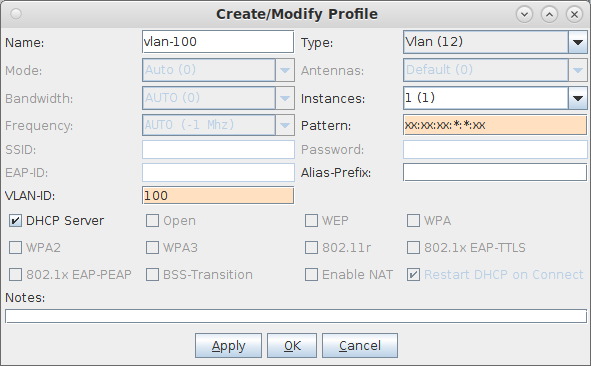
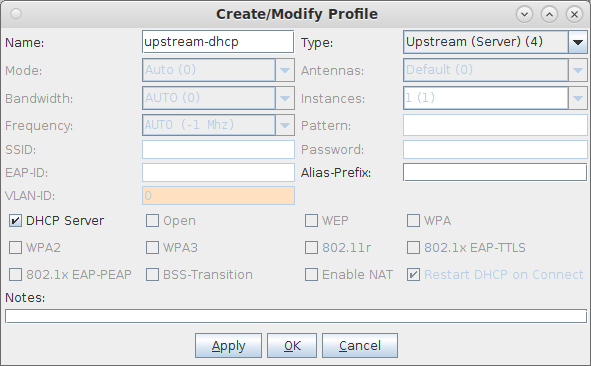
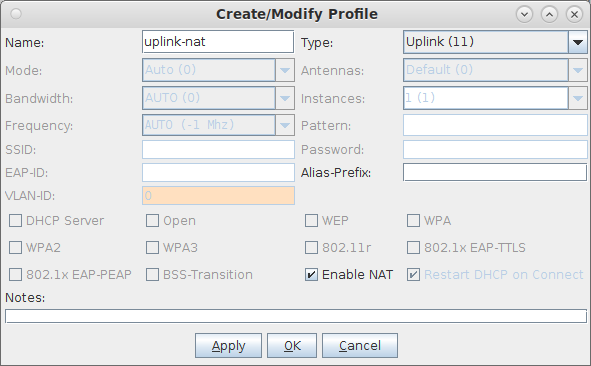
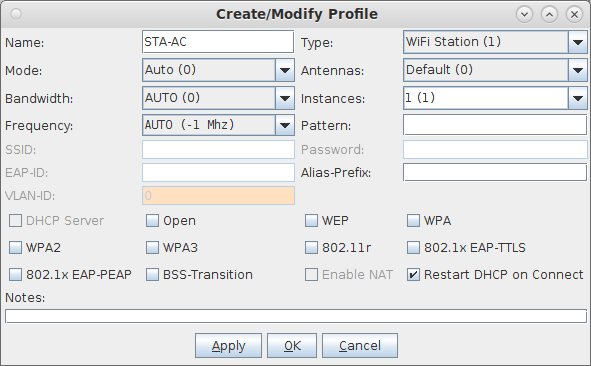
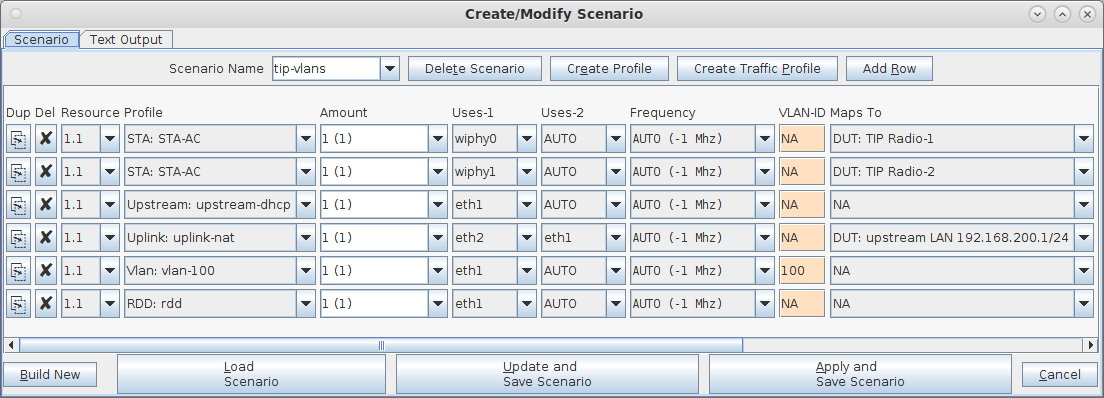
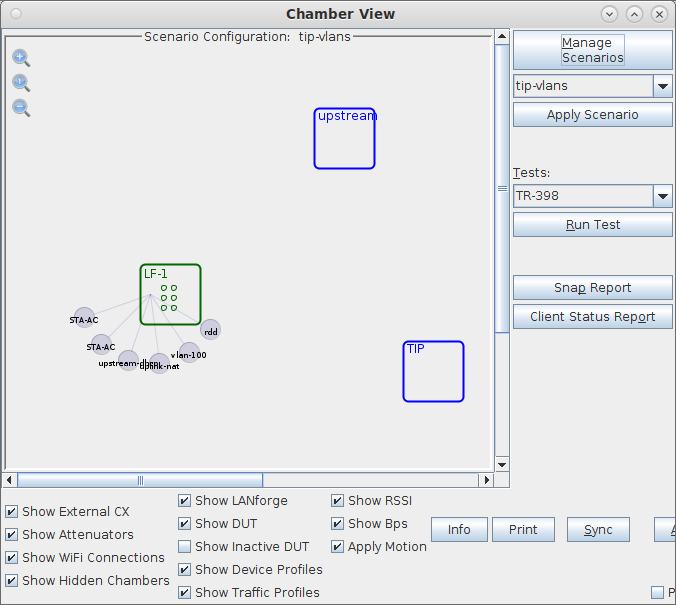
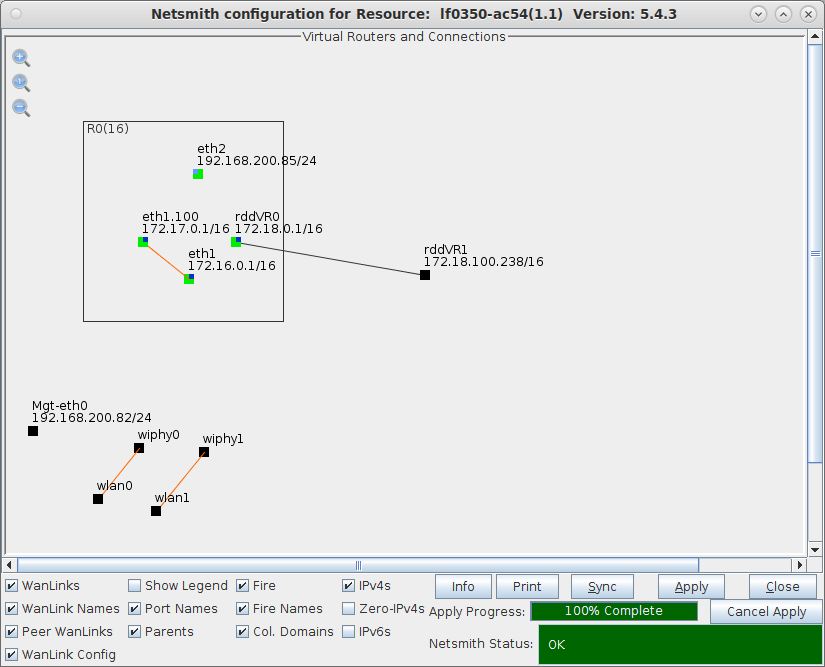
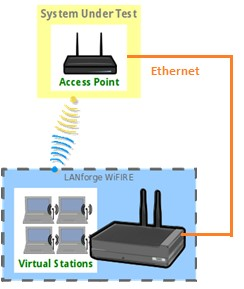
 In this test scenario a LANforge system will provide a DHCP server with 802.1q vlans, provide NATed access to the internet for the AP, as well as create stations that will connect to the WiFi AP under test. The AP's Ethernet interface is connected to a LANforge Ethernet interface allowing the LANforge system to create both the wireless stations and Ethernet server. This is an advanced topic, so some steps will be glossed over. This requires LANforge version 5.4.3 or higher. In this test scenario a LANforge system will provide a DHCP server with 802.1q vlans, provide NATed access to the internet for the AP, as well as create stations that will connect to the WiFi AP under test. The AP's Ethernet interface is connected to a LANforge Ethernet interface allowing the LANforge system to create both the wireless stations and Ethernet server. This is an advanced topic, so some steps will be glossed over. This requires LANforge version 5.4.3 or higher.This scenario is built with these components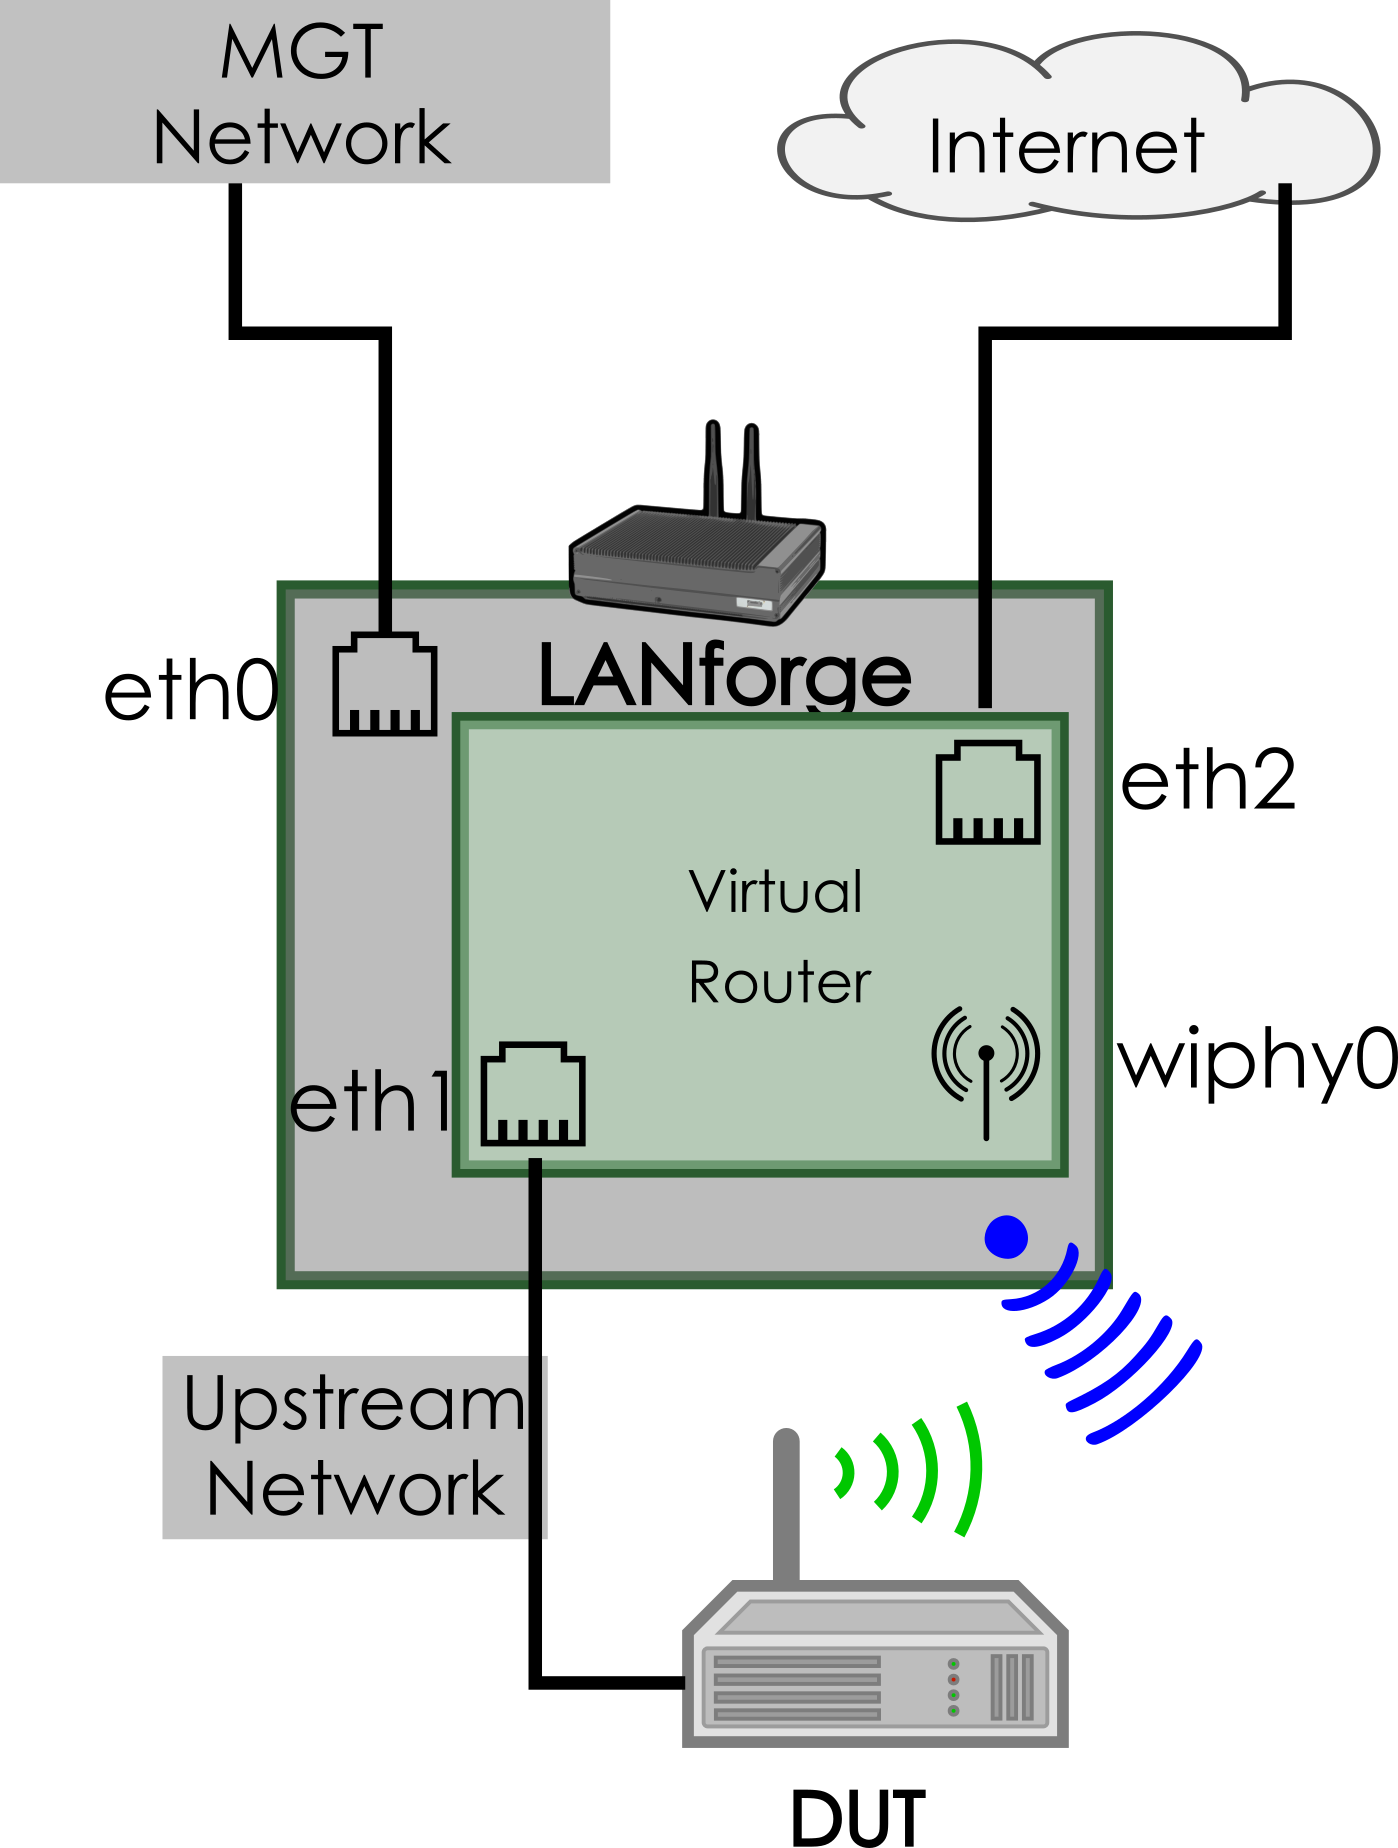
|
|
 In this test scenario a LANforge system will provide a DHCP server with 802.1q vlans, provide NATed access to the internet for the AP, as well as create stations that will connect to the WiFi AP under test. The AP's Ethernet interface is connected to a LANforge Ethernet interface allowing the LANforge system to create both the wireless stations and Ethernet server. This is an advanced topic, so some steps will be glossed over. This requires LANforge version 5.4.3 or higher.
