- Setup a Netsmith Connection.
- Go to the Status tab and click Netsmith
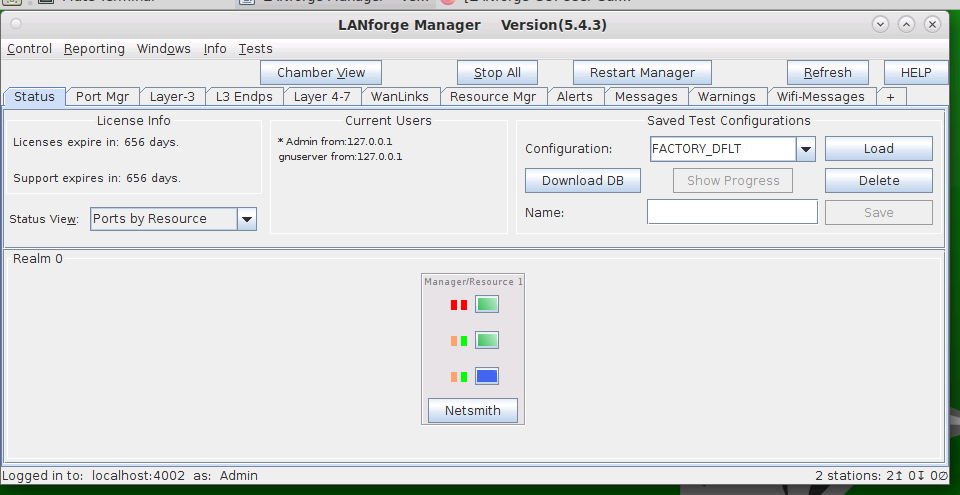
- Right-click in the Netsmith window and select New Connection
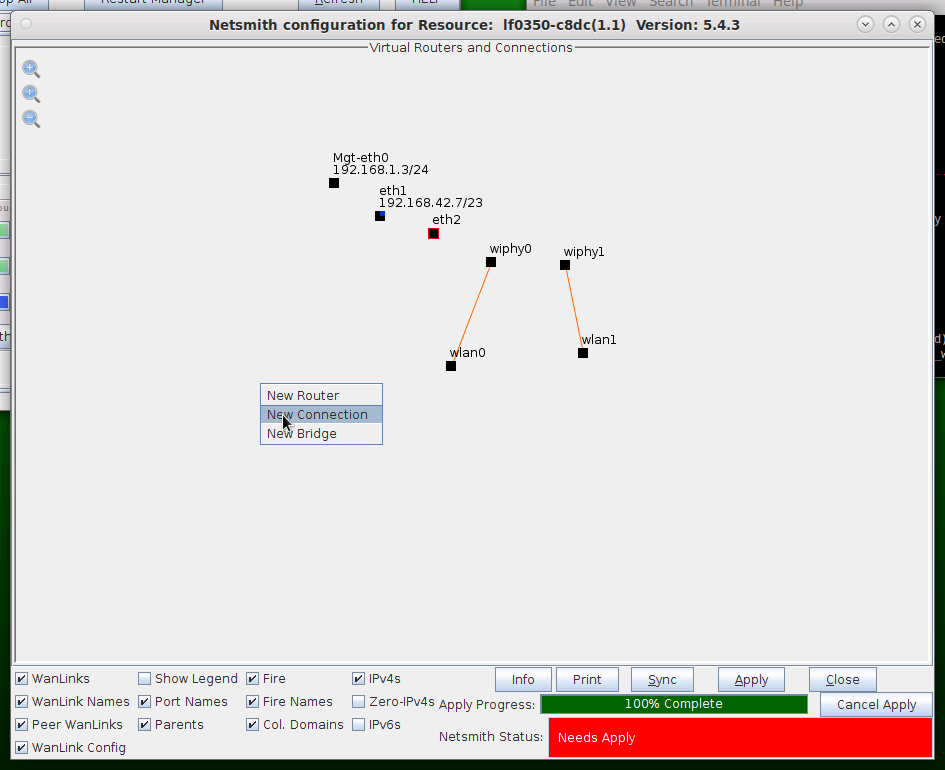
- Accept defaults, Auto Create everything and click OK
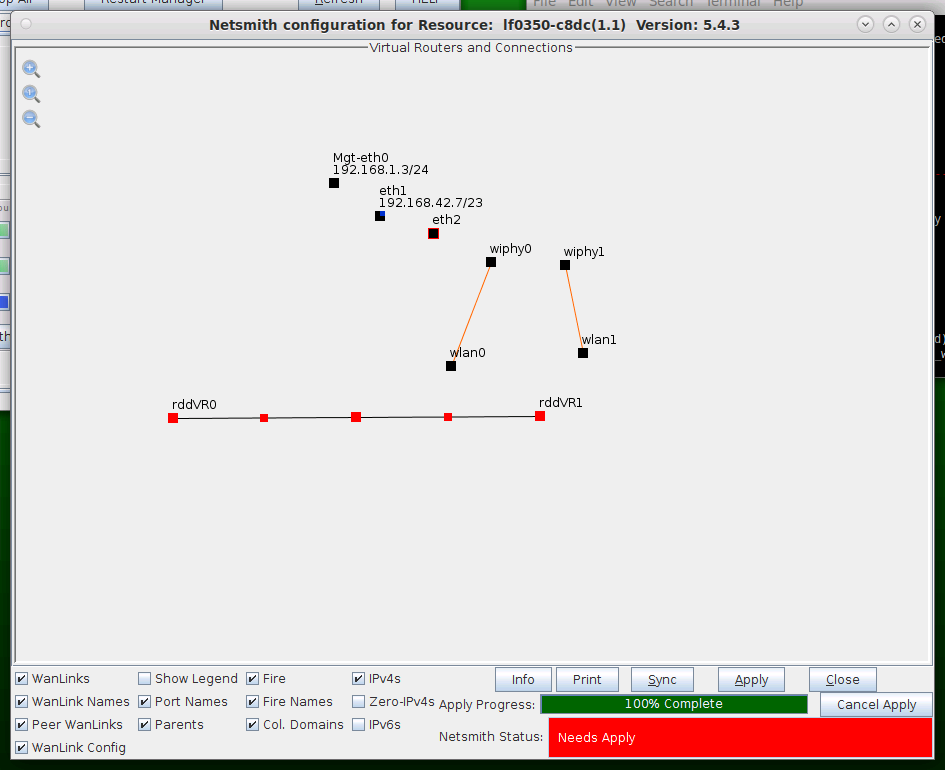
- Click Apply in the Netsmith window to create the connection
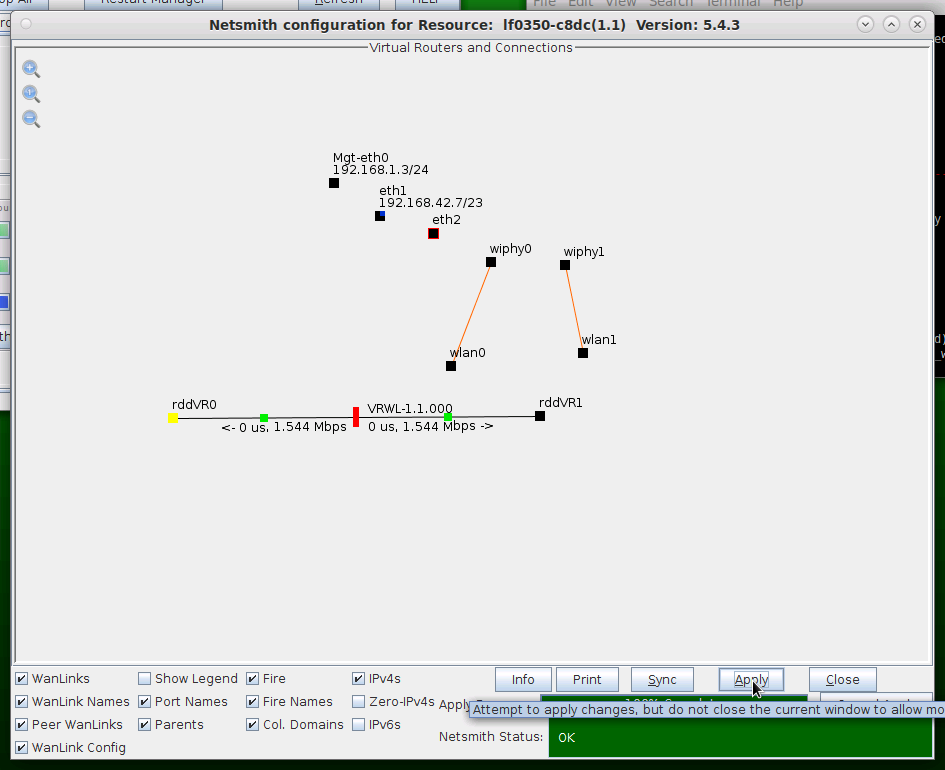
For more information see LANforge-GUI User Guide: Netsmith
- Setup two Virtual Routers.
- Right-click in the Netsmith window and select New Router
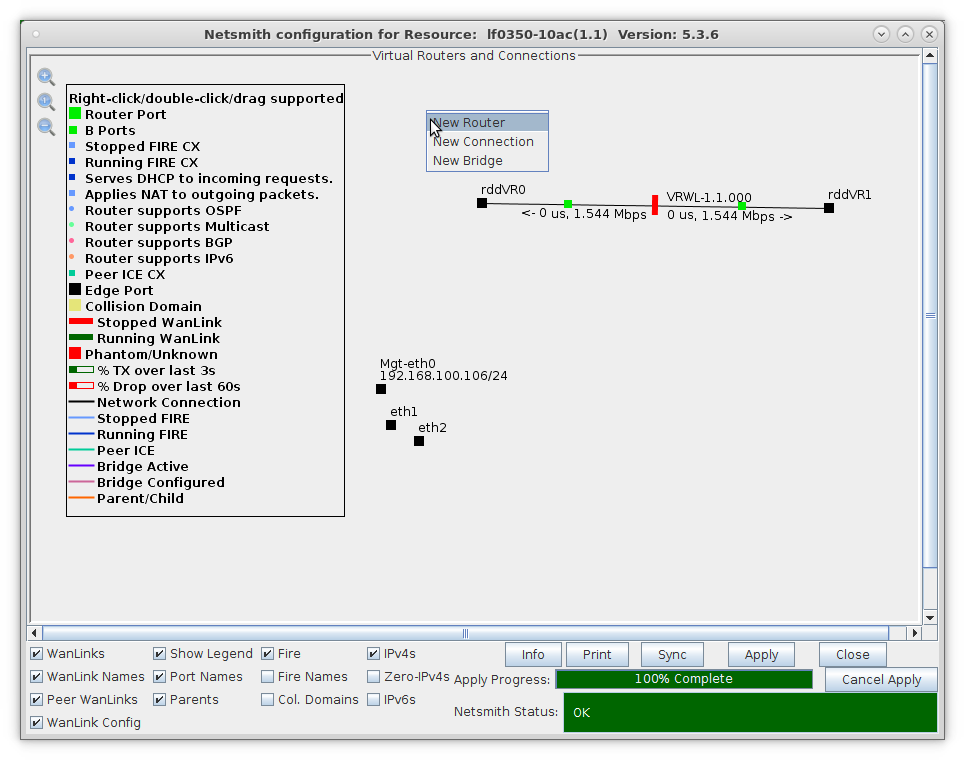
- Accept defaults, or change the name, graphical size and notes about the Virtual Router
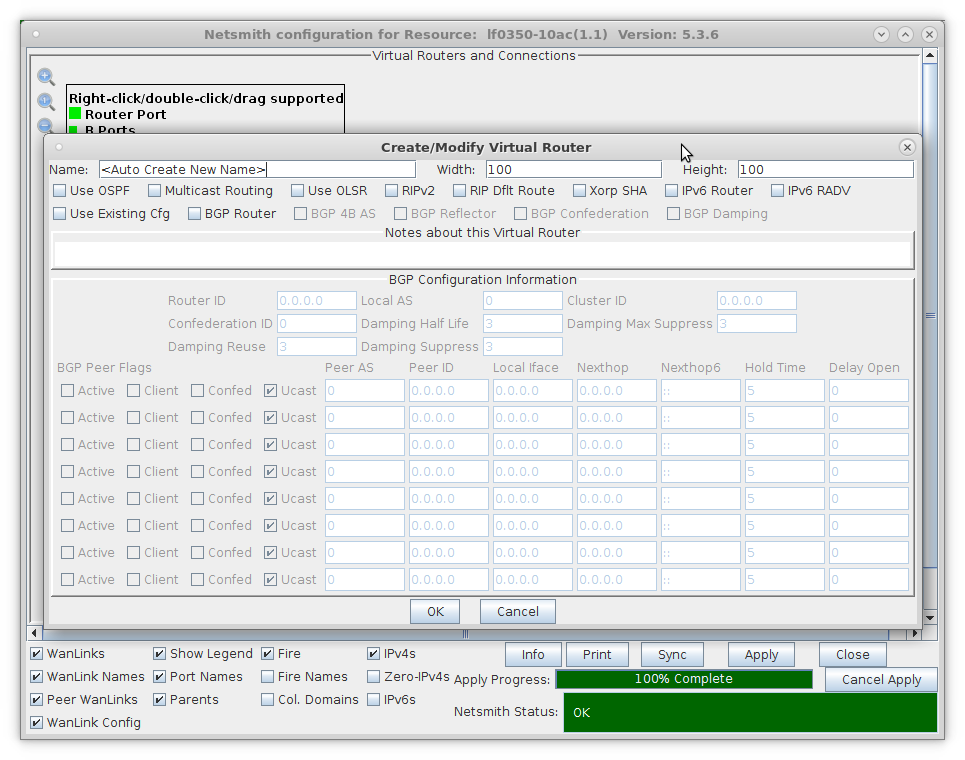
- Click OK when done
- Click the Apply button and repeat for the second Virtual Router
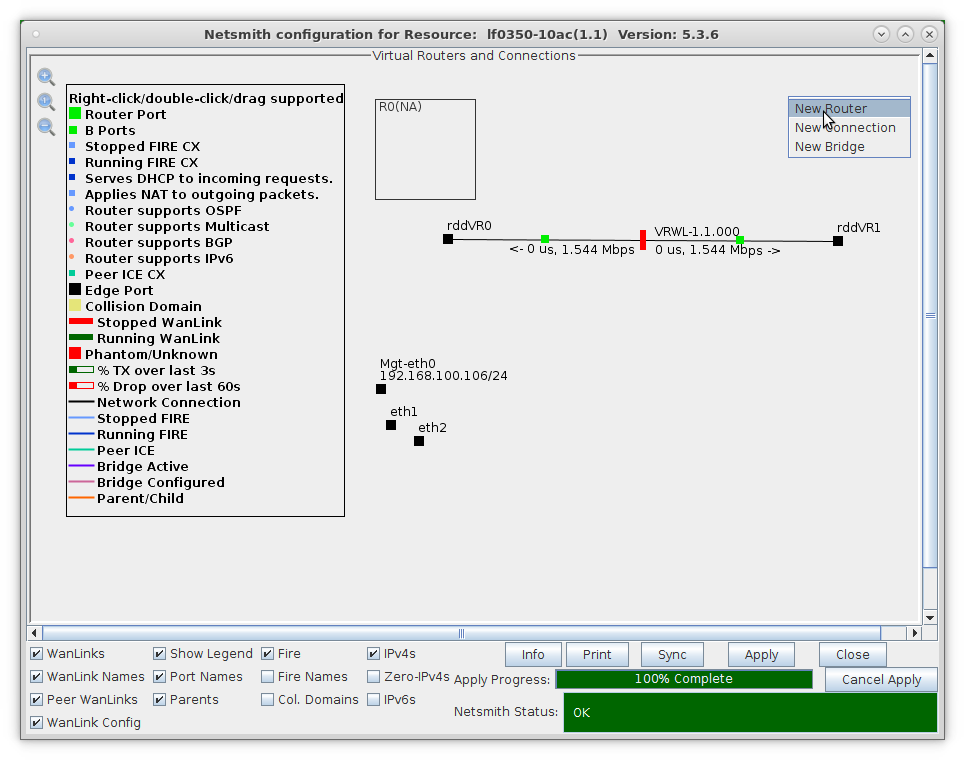
- NOTE: After making any changes to the Netsmith window, you must click Apply or your changes will NOT be implemented and could be lost
- Click the Apply button followed by the Sync button
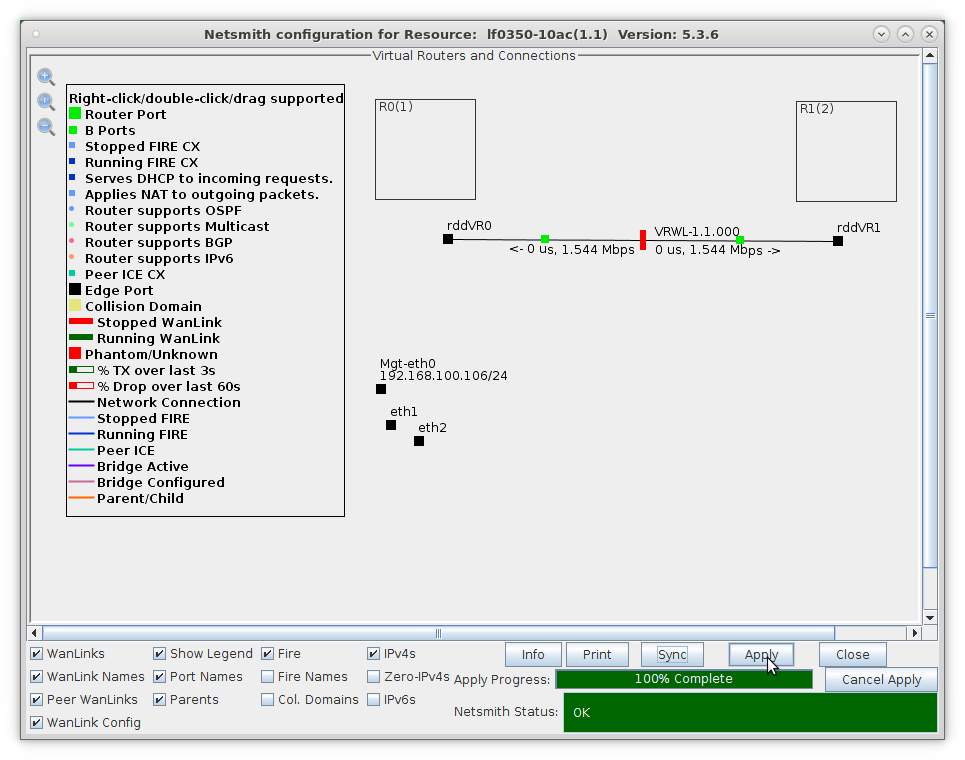
- NOTE: Clicking Sync makes sure any changes are synchronized with the current database
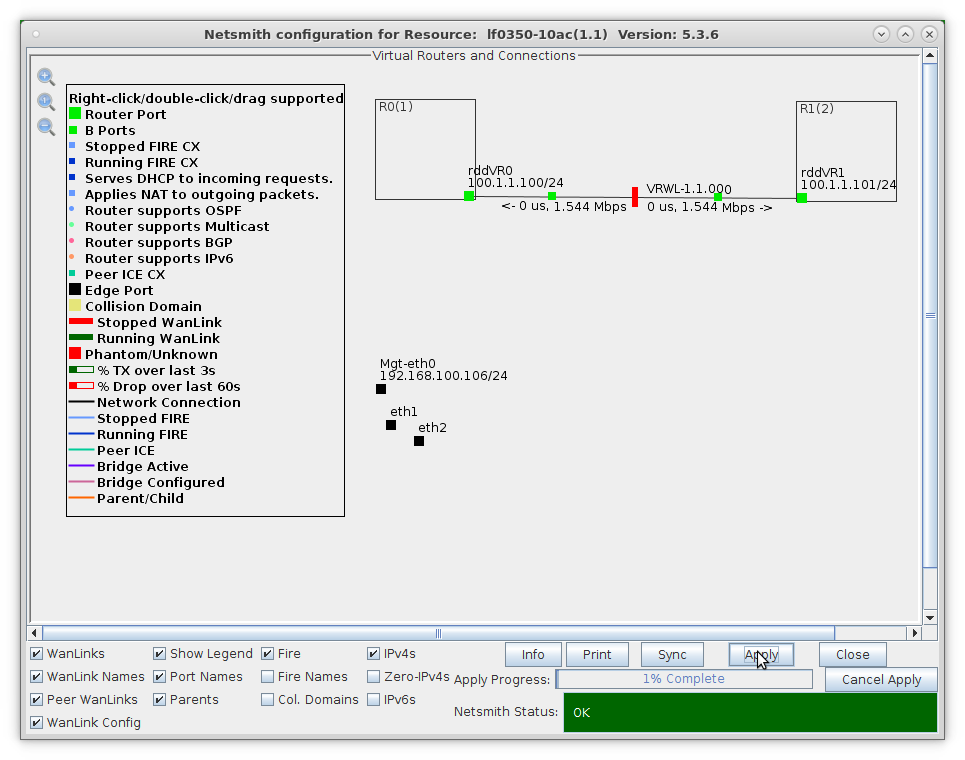
- Also, note the Netsmith Apply Progress bar displayed at the bottom of the Netsmith window
For more information see LANforge-GUI User Guide: Netsmith
- Configure the ports on the ends of the WanLink.
- Right-click port rddVR0 and select Modify Port
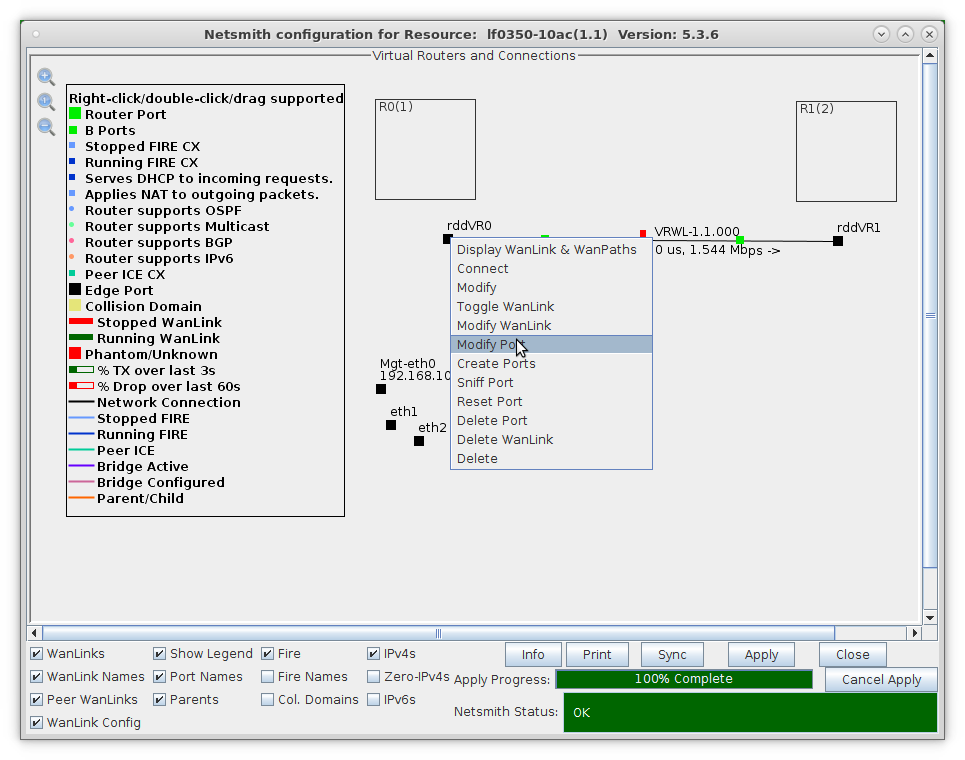
- Assign an IP address and Network Mask
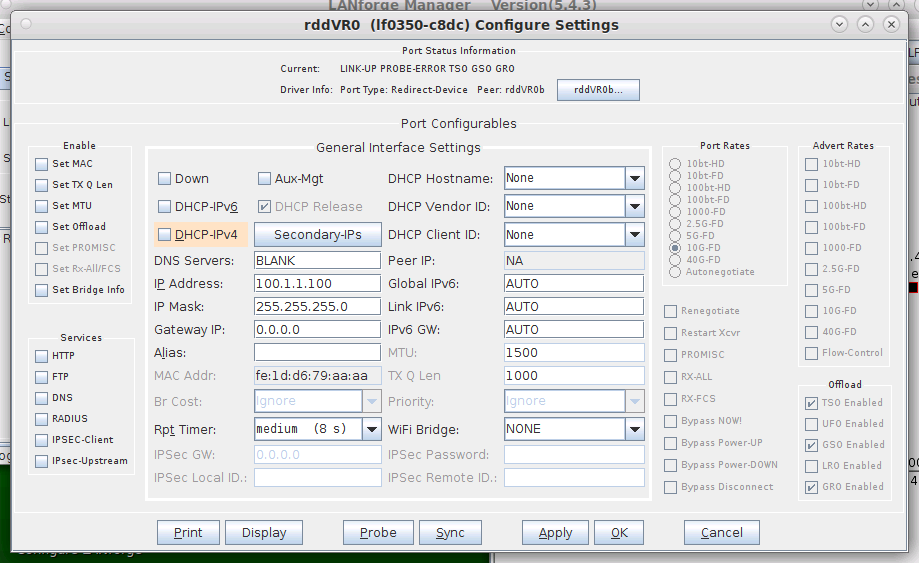
- This example uses 10.1.1.100 and 255.255.255.0
- Right-click port rddVR1 and select Modify Port
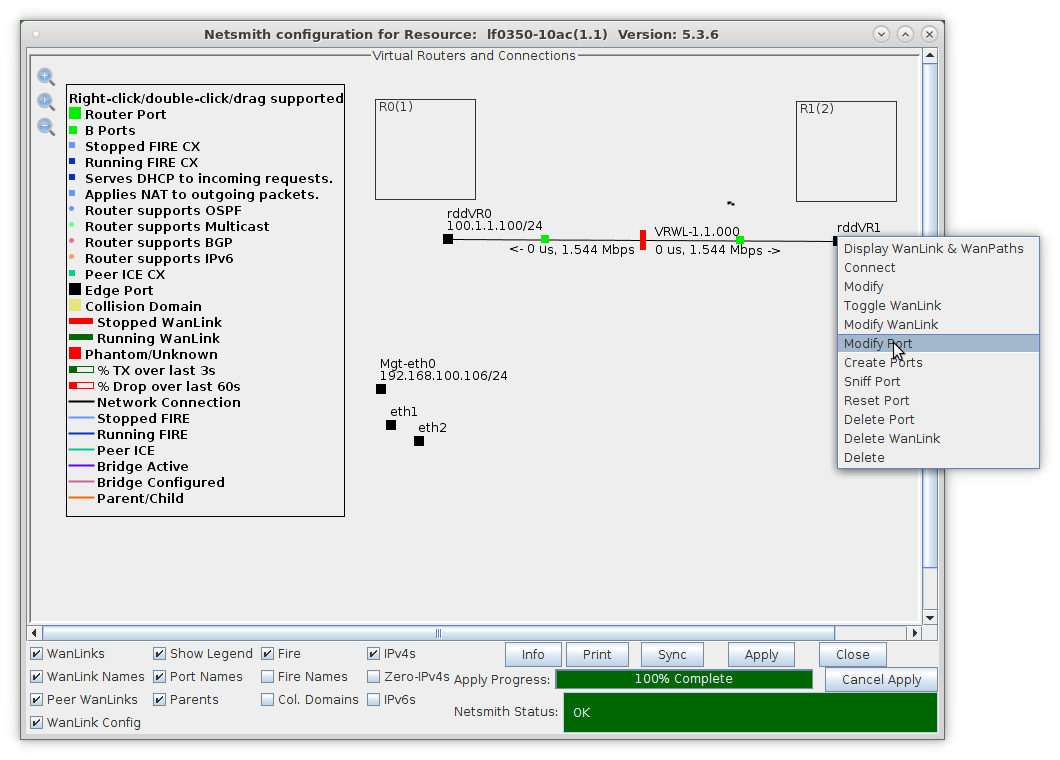
- Assign an IP address and Network Mask
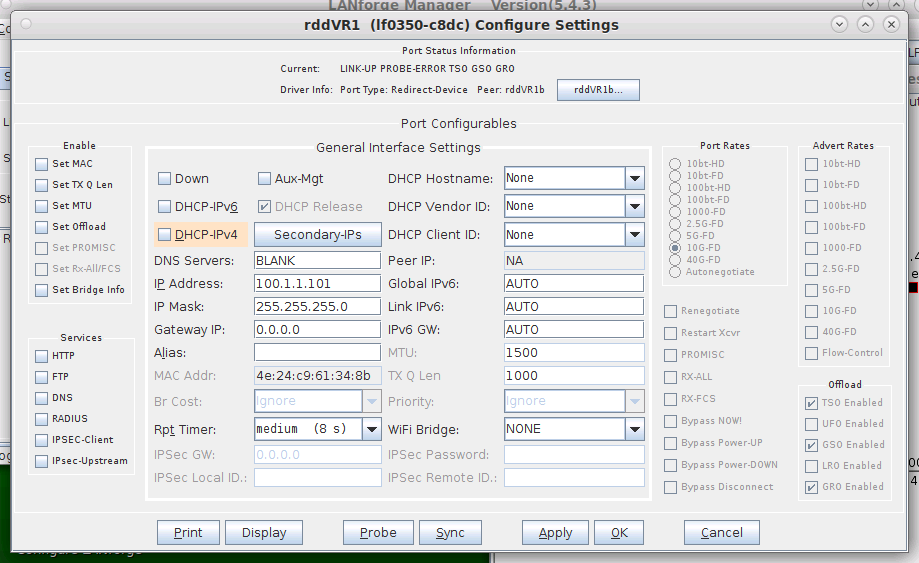
- This example uses 10.1.1.101 and 255.255.255.0
For more information see LANforge-GUI User Guide: Netsmith
- Drag the ends of the WanLink into the Virtual Routers.
- Left-click and drag rddVR0 into Router R0(1)
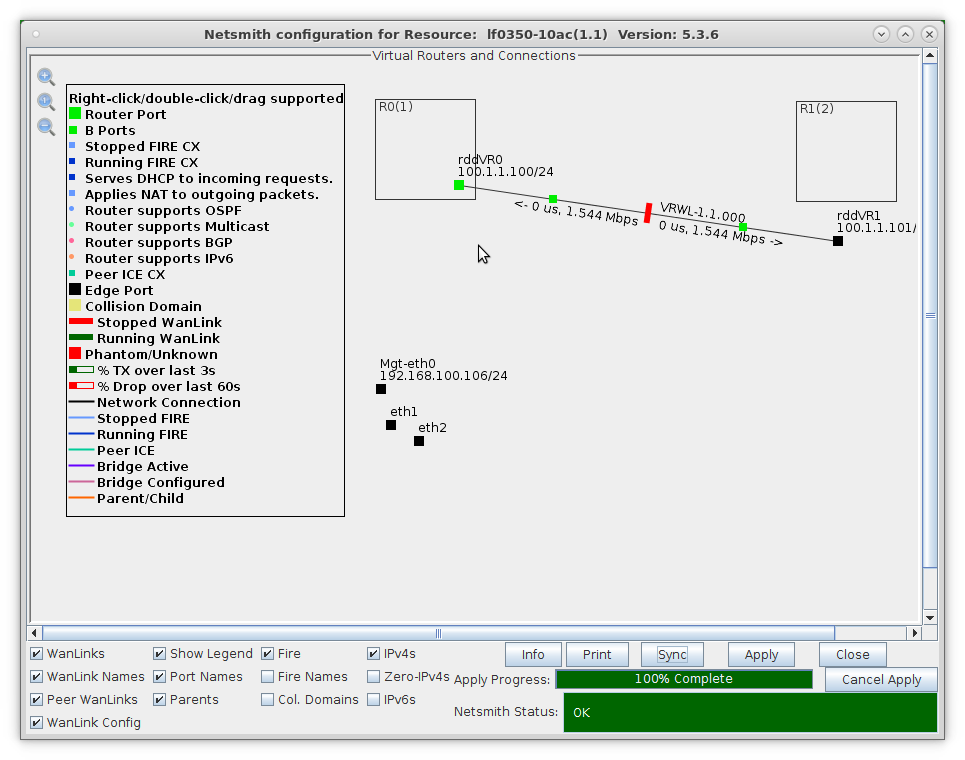
- Left-click and drag rddVR1 into Router R1(2)
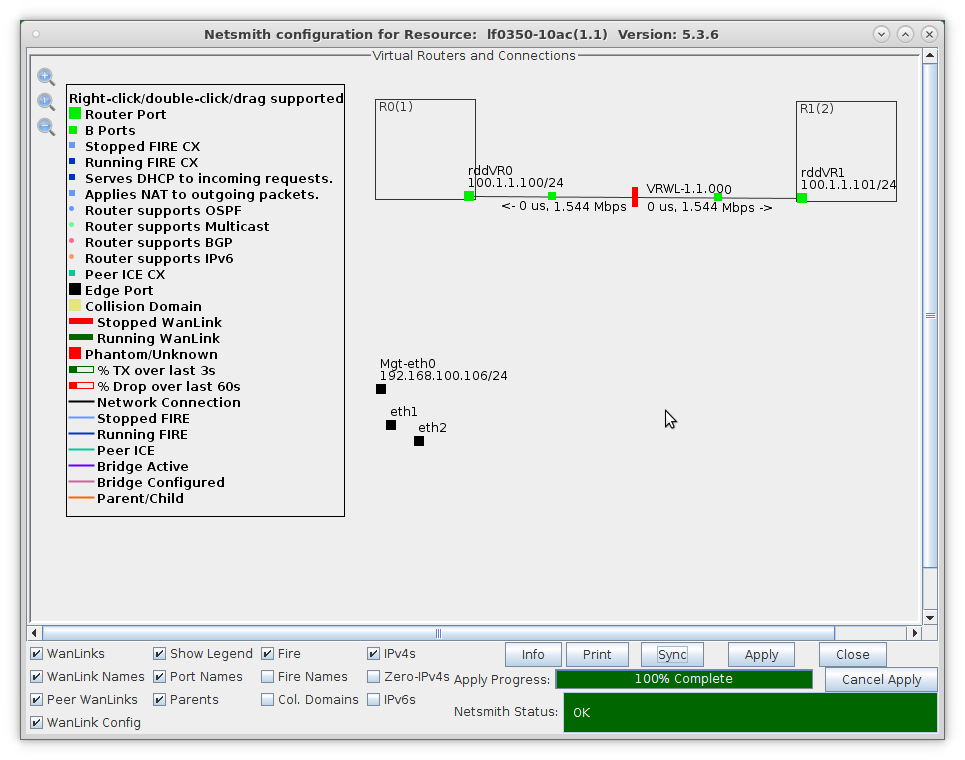
- Click the Apply button at the bottom of the Netsmith window
For more information see LANforge-GUI User Guide: Netsmith
- Setup the Routed Mode WanLink characteristics.
- Right-click the WanLink and select Modify Wanlink
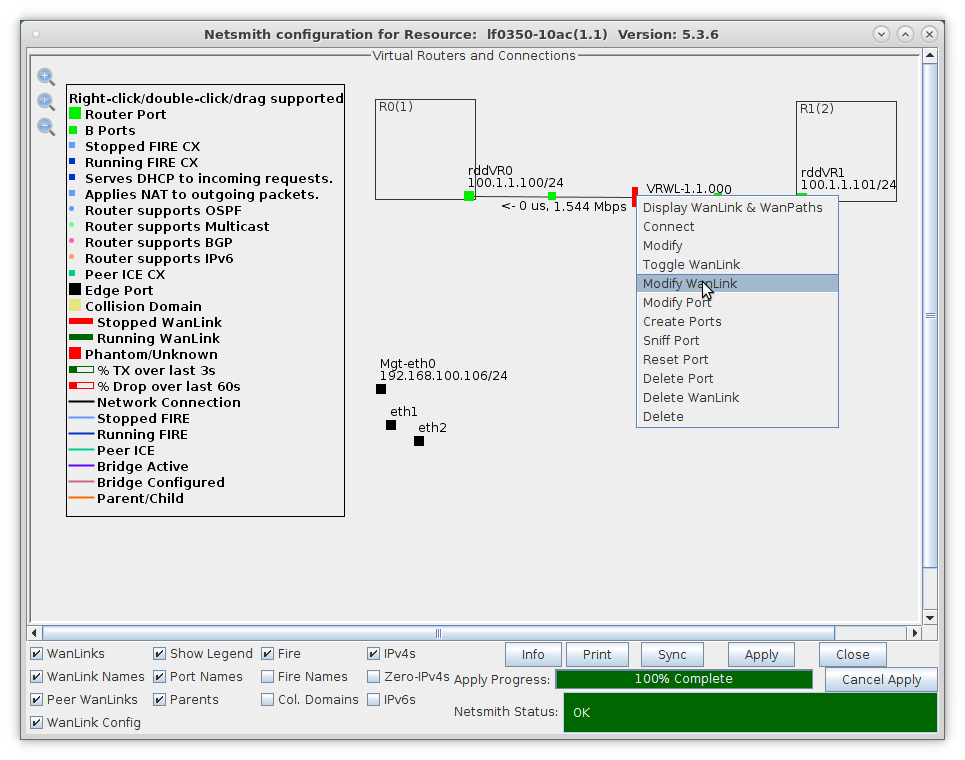
- Verify that the B-side ports, rddVR0b and rddVR1b, are filled in
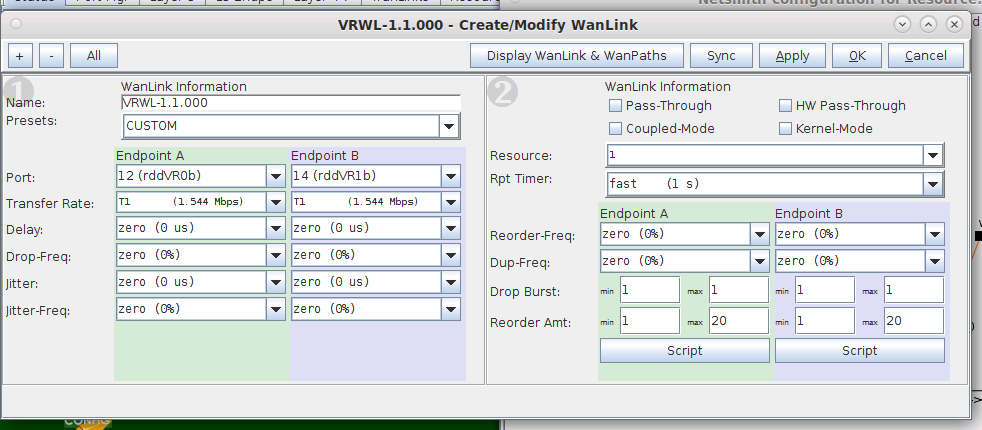
- NOTE: Be sure to set the impairment, if any, and transfer rate
- Click OK when done
- Right-click the WanLink and select Toggle Wanlink to set its status to Running (green)
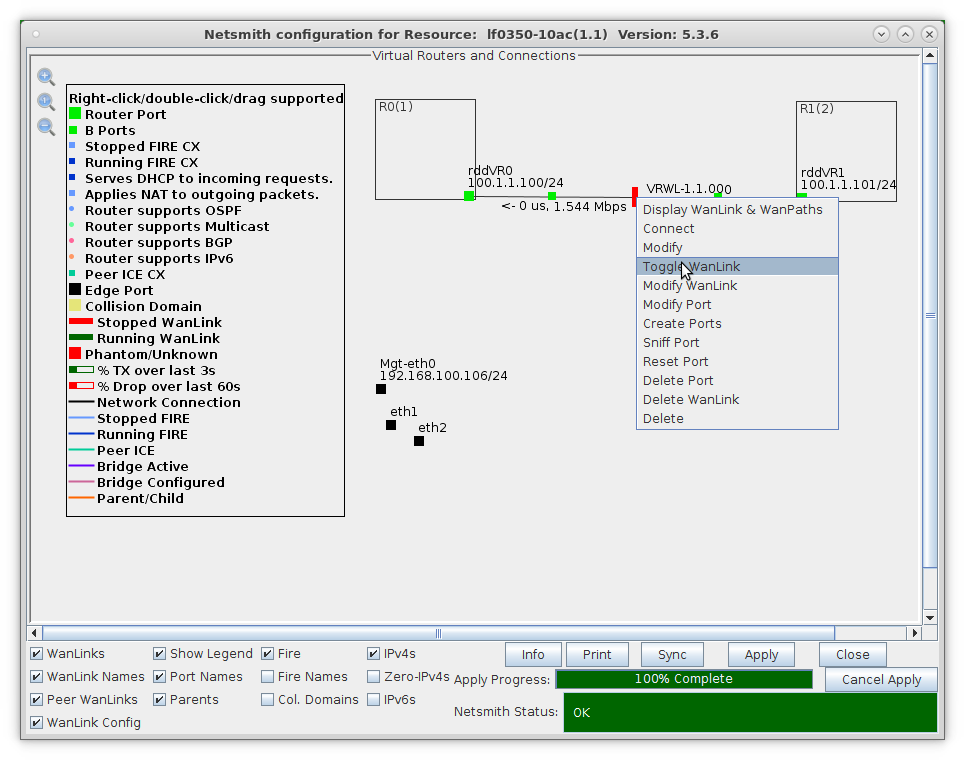
For more information see LANforge-GUI User Guide: Netsmith
- Setup MAC VLANs.
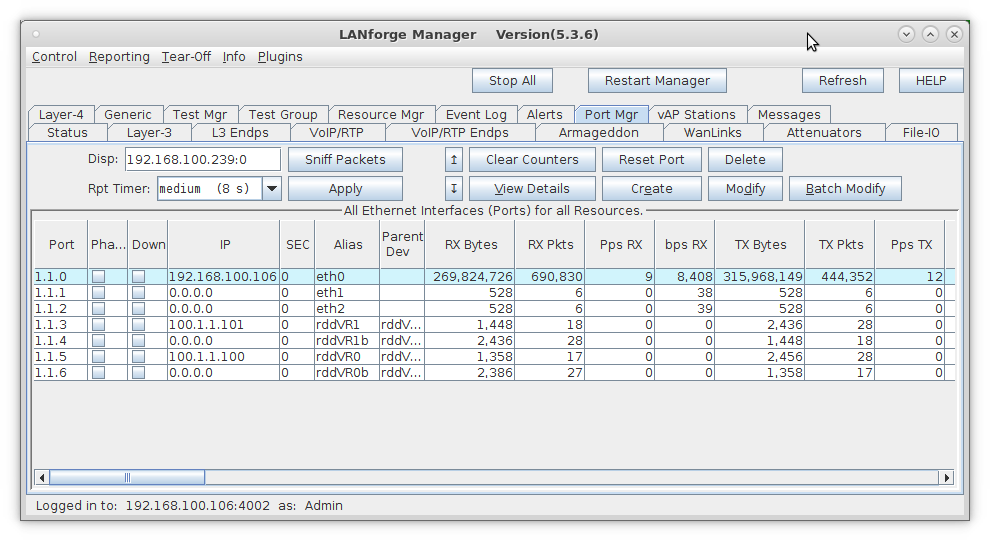
- Go to the Port Mgr tab, select eth1 and click Create
- Select the MAC-VLAN button
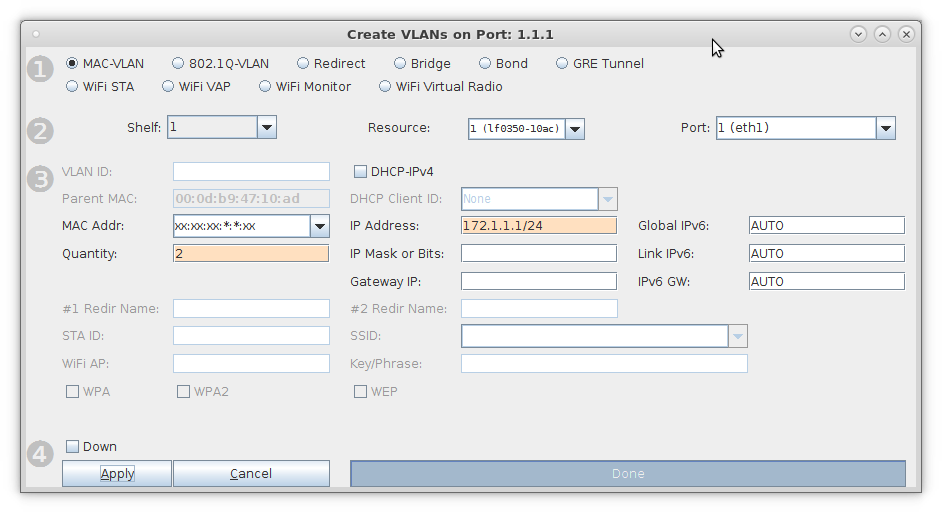
- Set a MAC address that begins with 00 (Ex: 00:11:33:55:77:01)
- Set the Quantity to 2
- Set the IP Address to 172.1.1.1 and IP Mask to 255.255.255.0
- Leave the Gateway IP field blank
- Click OK when done
- Select the MAC VLAN eth1#1 and click Modify
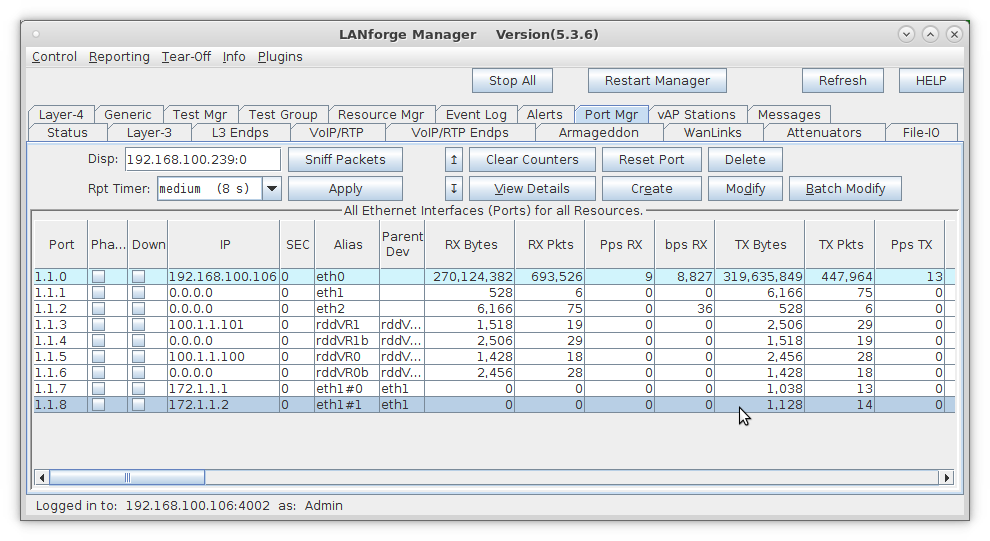
- Set eth1#1 IP address to 172.2.2.1 and IP Mask to 255.255.255.0
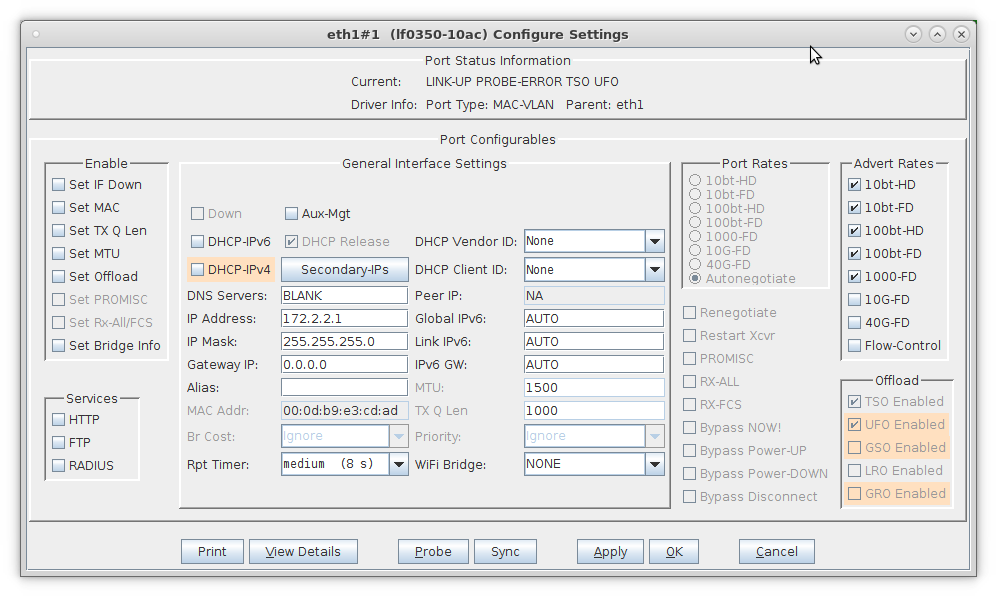
- Select eth2 and click Create
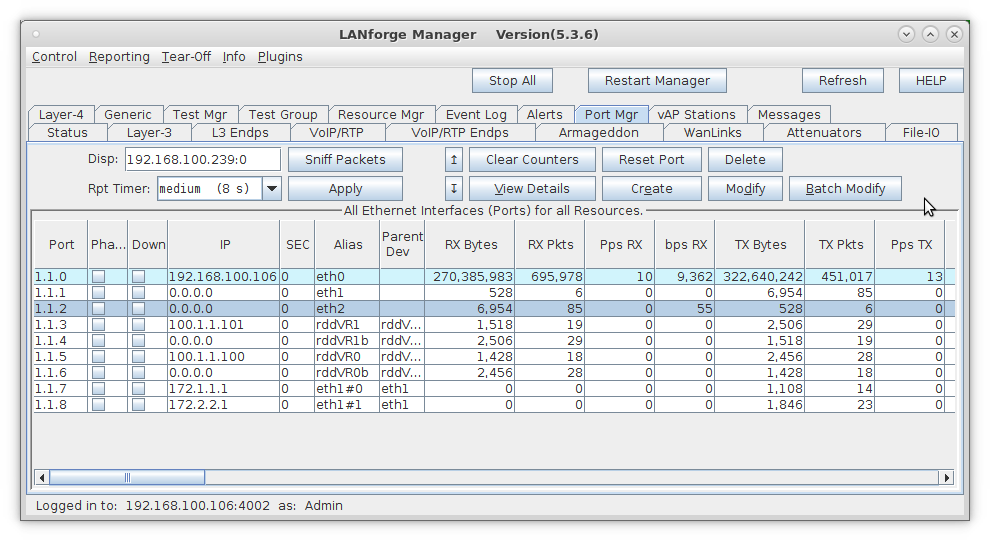
- Select the MAC-VLAN button
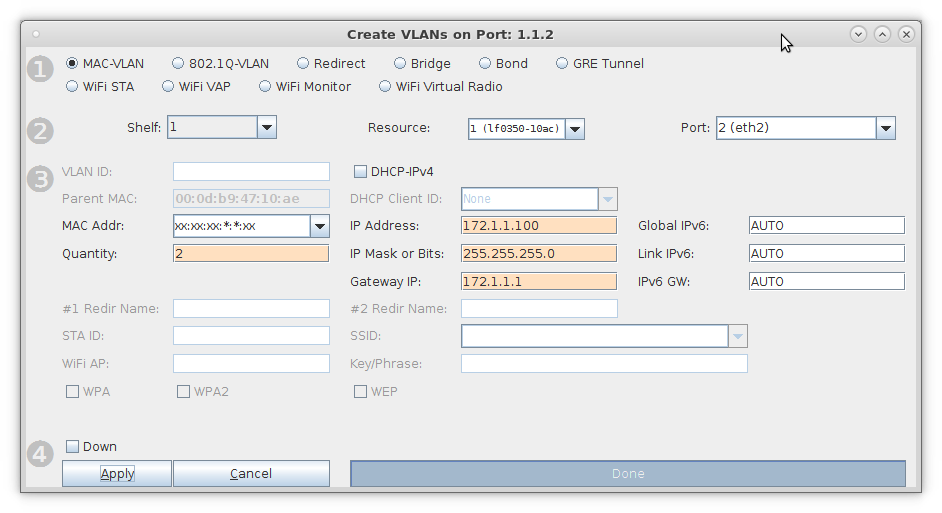
- Set a MAC address that begins with 00 (Ex: 00:22:44:66:88:01)
- Set the Quantity to 2
- Set the IP Address to 172.1.1.100 and IP Mask to 255.255.255.0
- Set the Gateway IP to 172.1.1.1
- Click OK when done
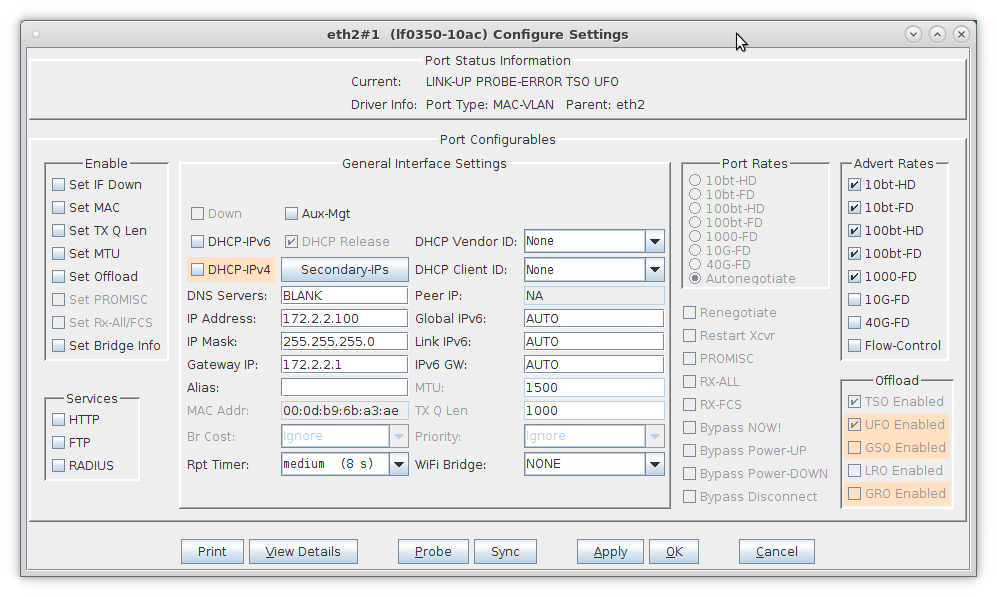
- Select the MAC VLAN eth2#1 and click Modify
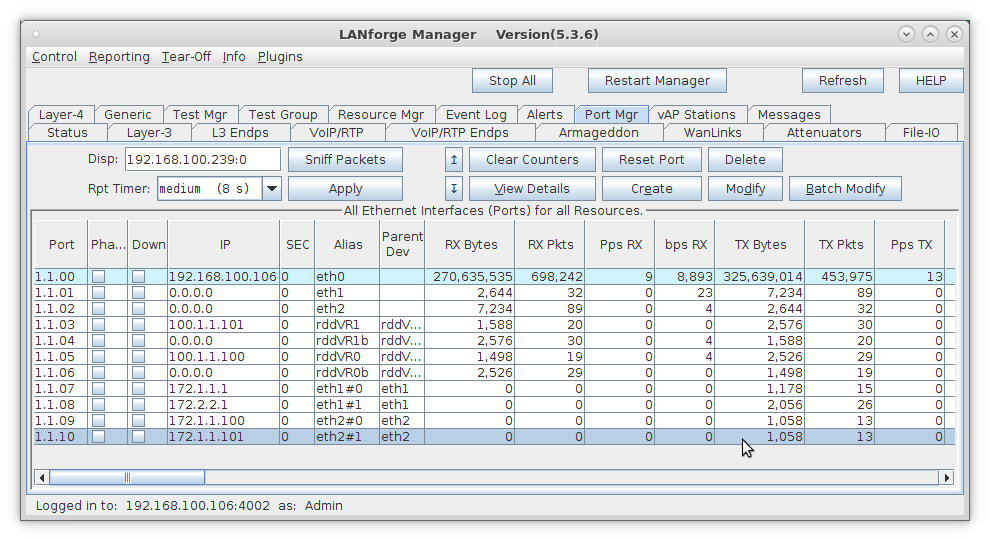
- Set eth2#1 IP address to 172.2.2.100, IP Mask to 255.255.255.0 and Gateway IP to 172.2.2.1
For more information see LANforge-GUI User Guide: Virtual Interfaces
- Configure Netsmith.
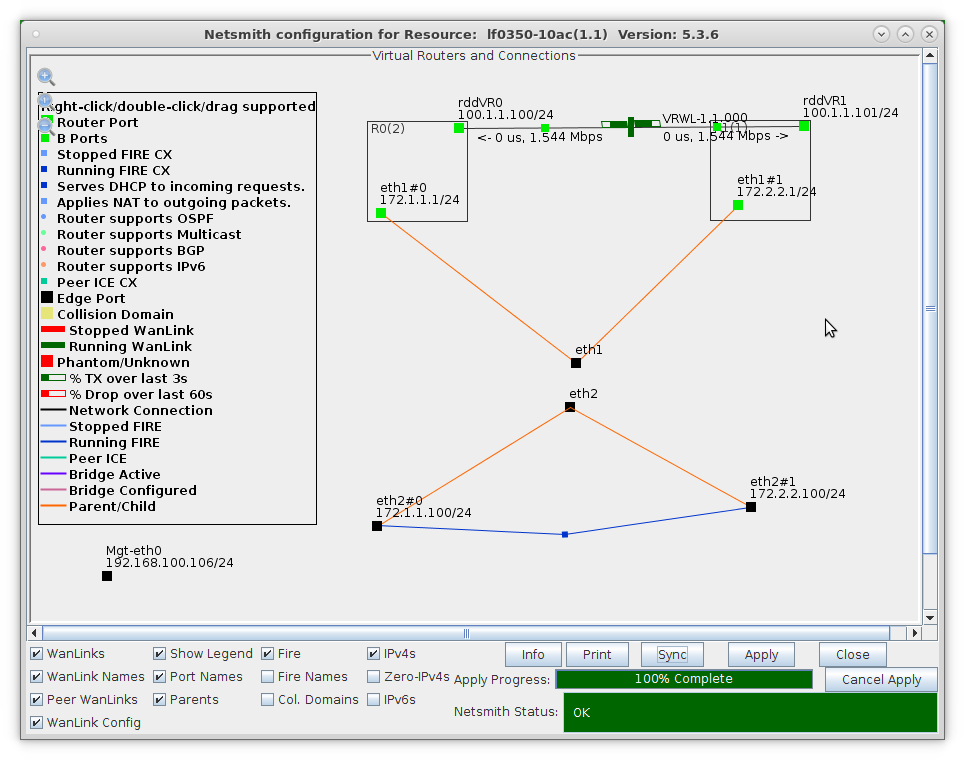
- After clicking on the sync button,move the ports on the Netsmith window to be more clearly visible.Eth1 and eth2 are connected via a loopback cabel
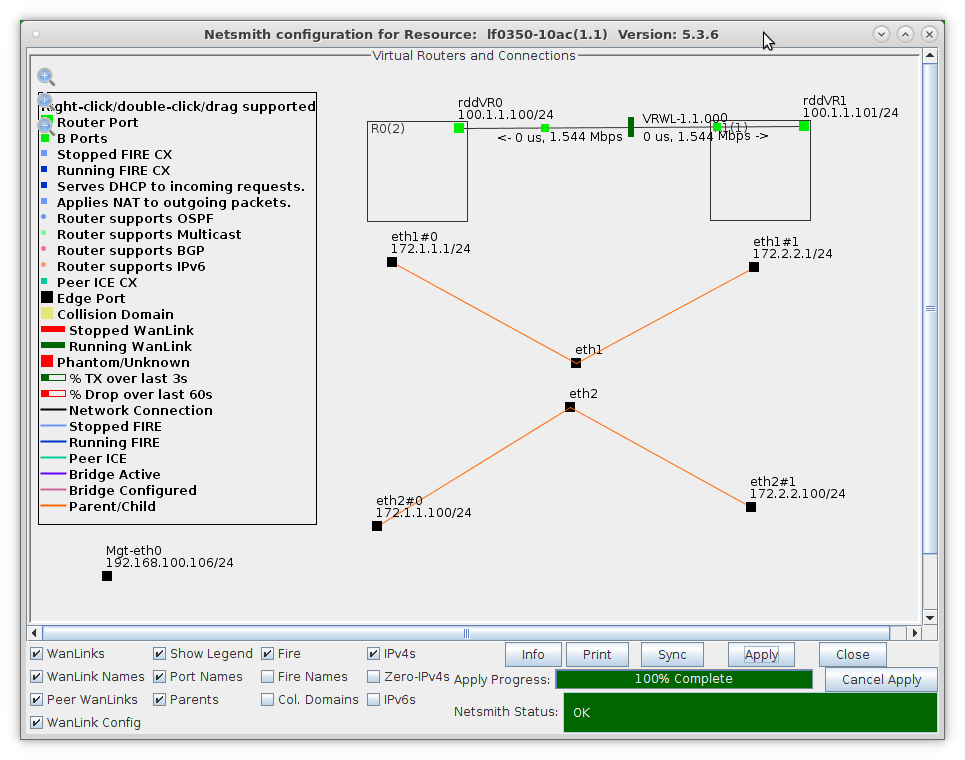
- NOTE: Be sure to click Apply after moving objects so that their new positions are saved to the database
- Drag eth1#0 into Router R0(1)
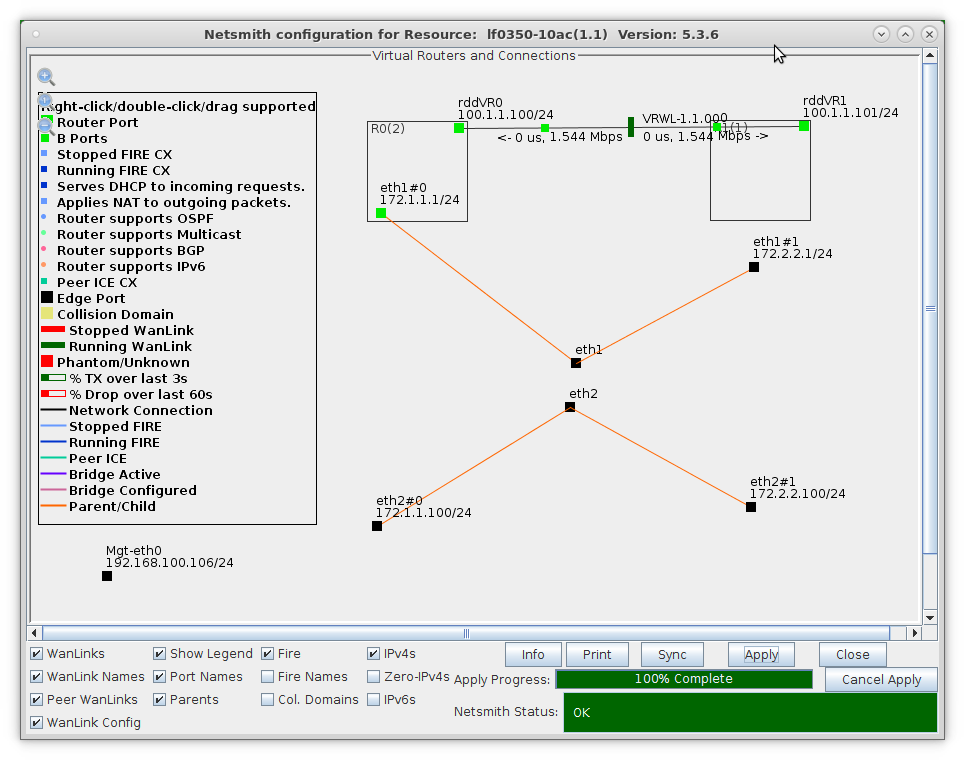
- Drag eth1#1 into Router R1(2)
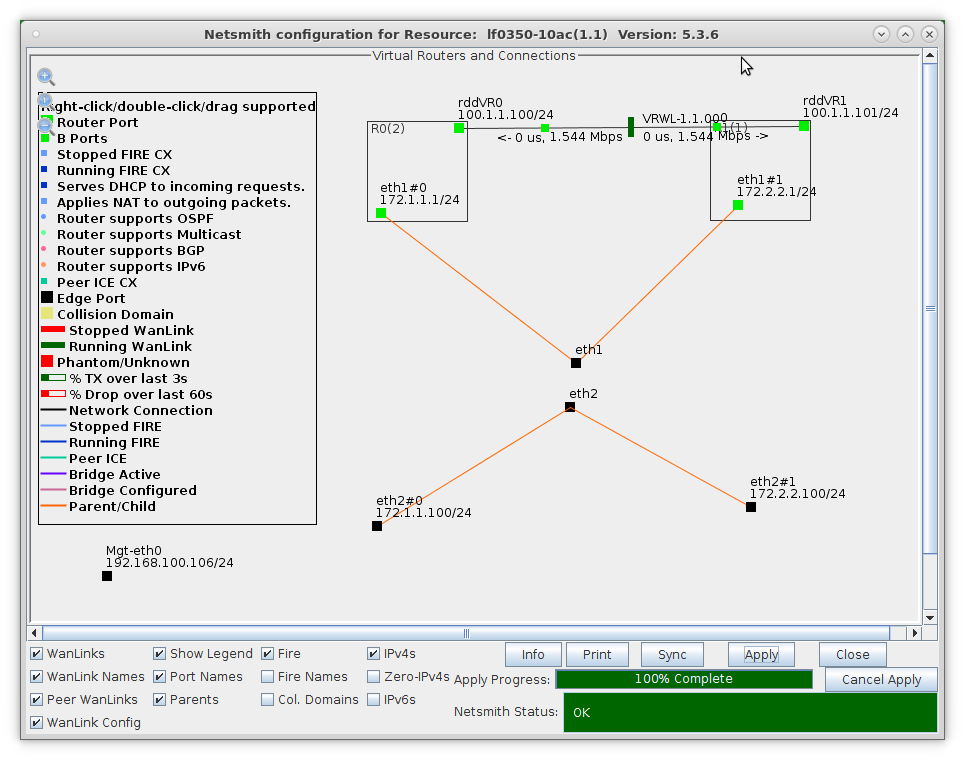
- Click Apply in the Netsmith window
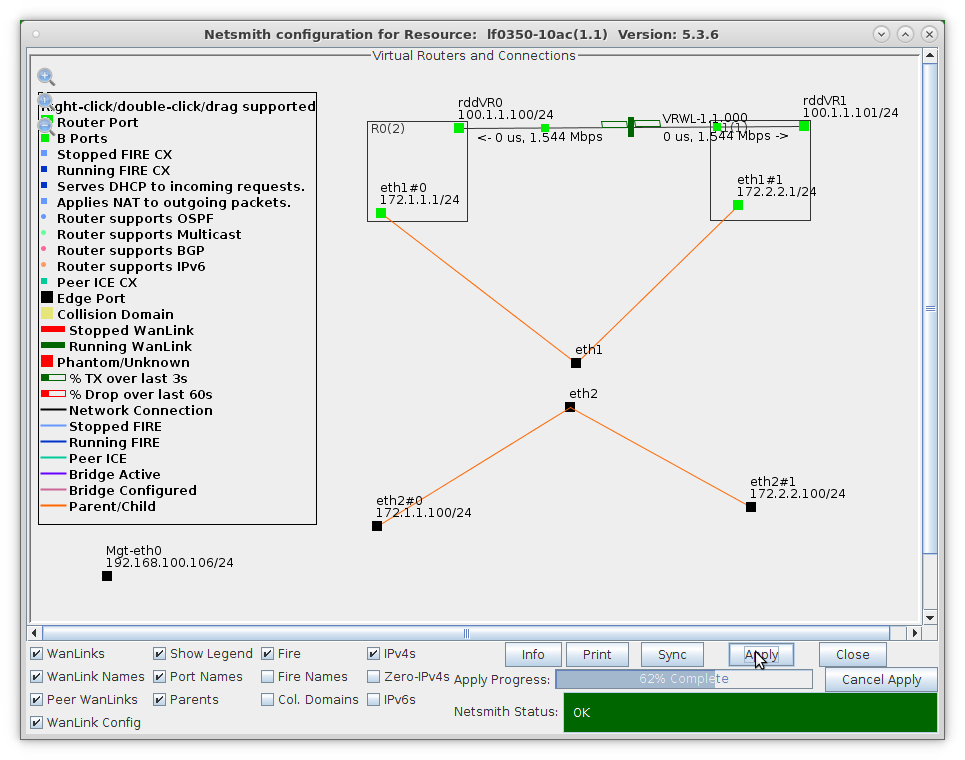
- LANforge is now ready to accept incoming traffic on eth0, the single physical port that is connected to a Routed Mode WanLink
- Ports eth0 and eth1 are physically connected via a loopback cable in this example. MAC VLANs on eth1 are configured to generate test traffic to the Routed Mode WanLink
For more information see LANforge-GUI User Guide: Netsmith
- Setup a Layer-3 UDP connection between MAC VLANs eth2#0 and eth2#1.
- Go to the Layer-3 tab and click Create
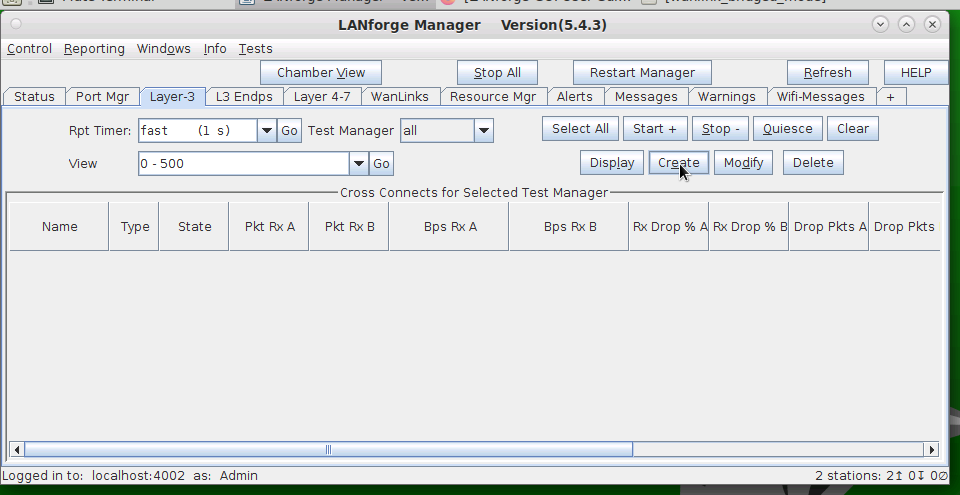
- Set Endpoint A to be eth2#0 and Endpoint B to be eth2#1
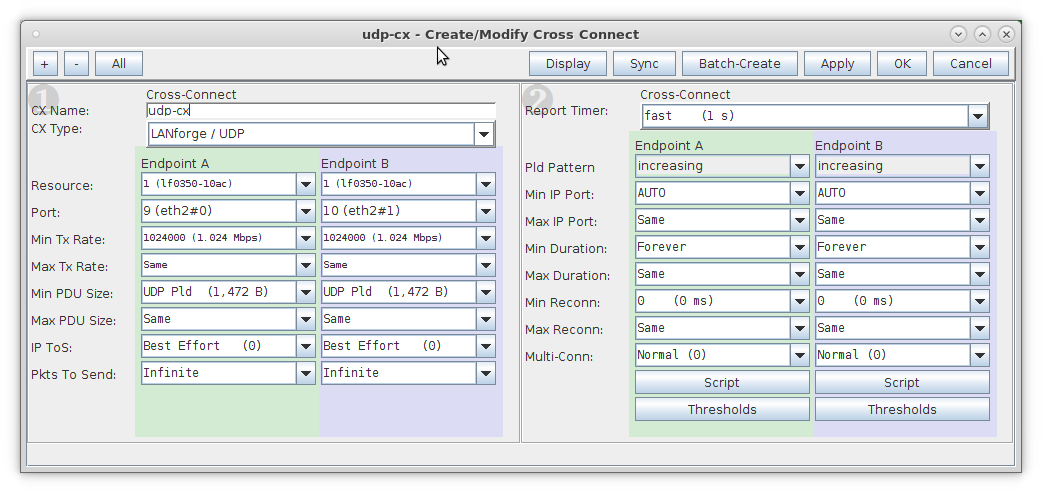
- Enter the CX name then set the CX Type to LANforge UDP and the Report Timer to 1000
- Set the Min/Max Tx Rate to 1024000 and the Min/Max Pkt Size to 1472
- Select the new connection and click Start
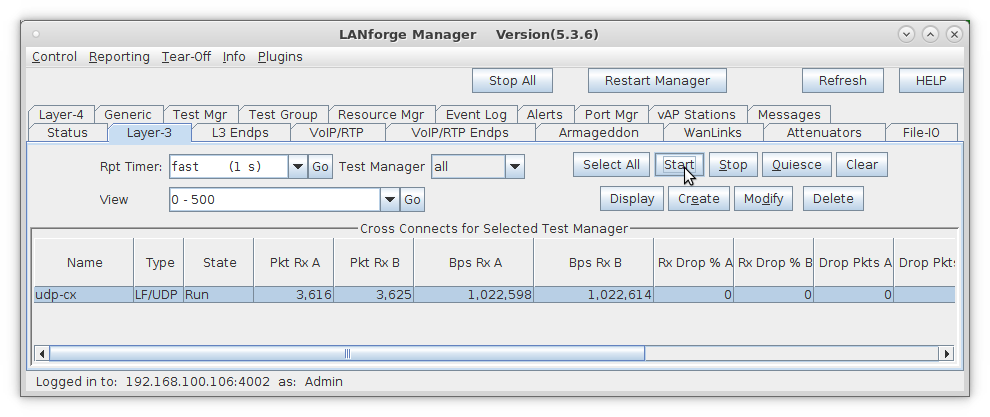
- Netsmith now shows the new connection and traffic flowing through the Routed Mode WanLink
For more information see LANforge-GUI User Guide


