Candela Technologies Logo
Network Testing and Emulation Solutions

Generating Table-based Reports

Goal: Learn how to generate reports that present the data found in the table views of the LANforge GUI.

We will use the Reporting→Table Report Generator tool to select rows and columns present from the LANforge GUI to create an HTML report. The individual rows and columns from the Ports, Layer-3 and L3-Endpoints windows can be selected. Feature appeares in release 5.3.3.

 
  1. Begining a New Report
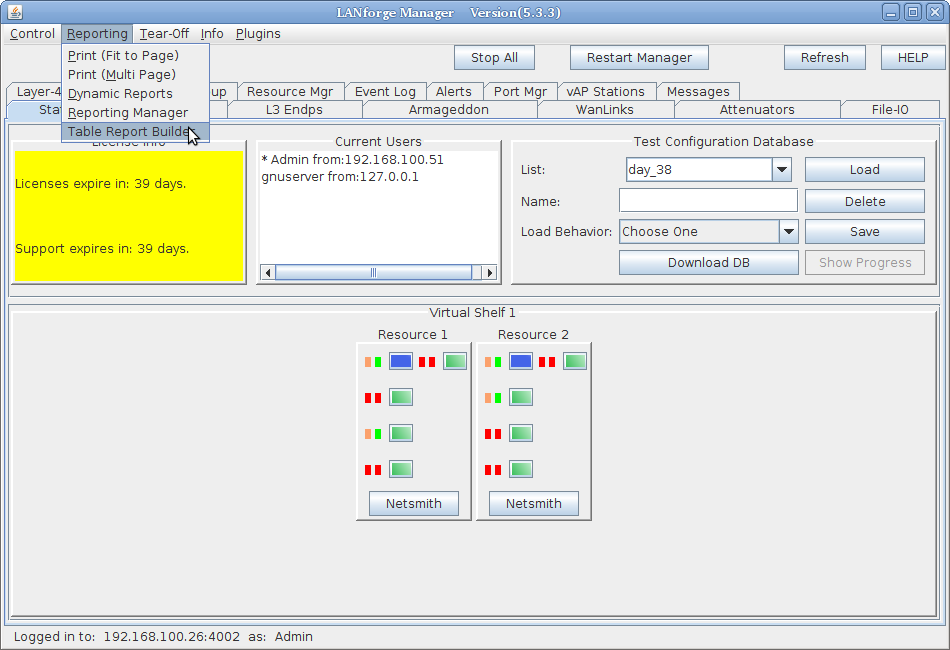
    1. We start in the Reports menu, and choose the Table Report Generator screenshot
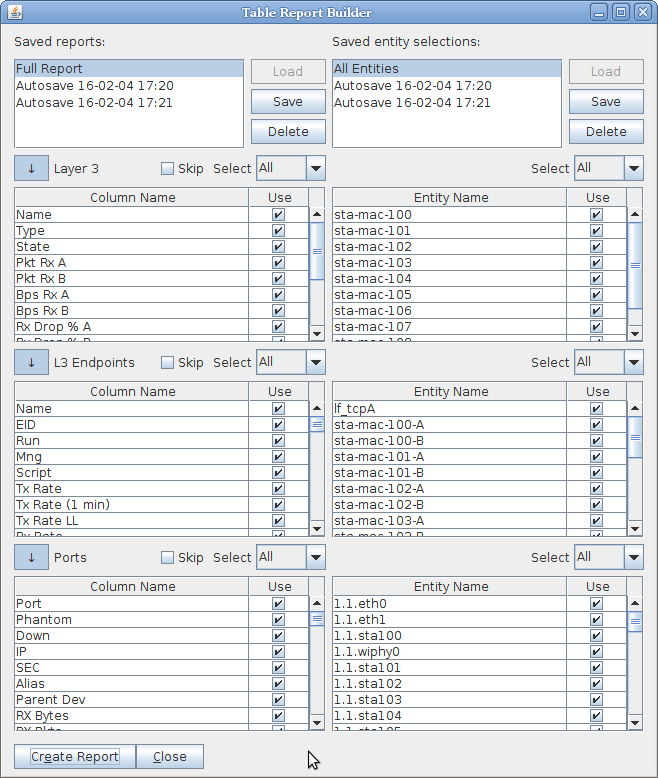
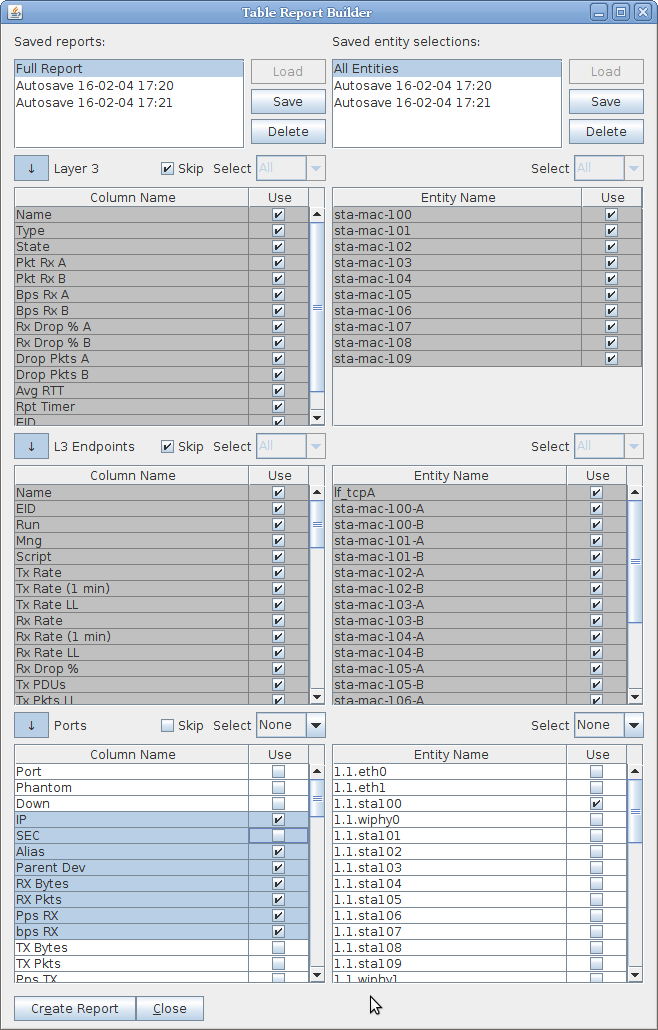
    2. The report generator window appears. At the top are lists of previous saved settings. Below those are the selection tables for Layer 3, L3-Endpoints and Ports. The check-box indicates if the item will be included in the report. screenshot
  2. Understanding the two columns in the Table Report Builder.
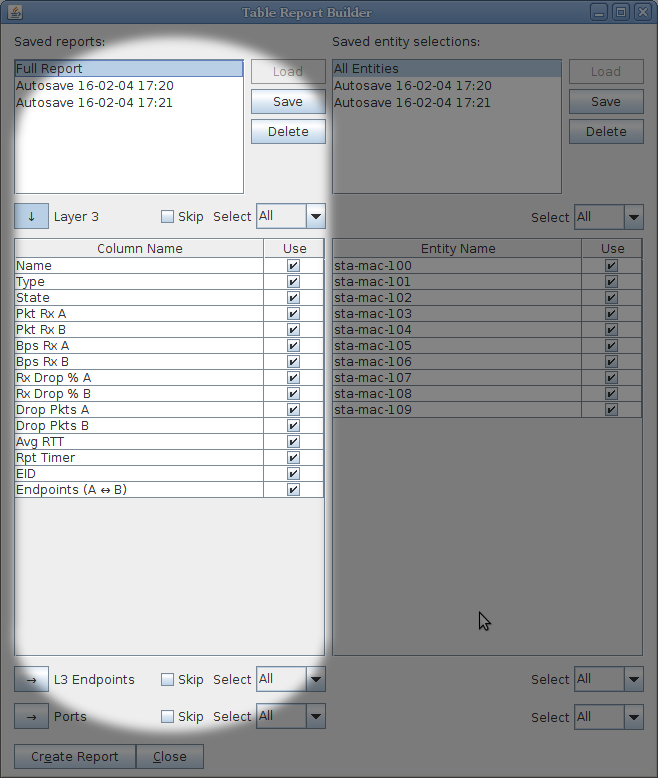
    1. Report Profiles are on the left. This represents your selection of Layer-3, L3-Endpoint and/or Port table columns to include in your report. These preferences are saved independently of the entity choices. screenshot
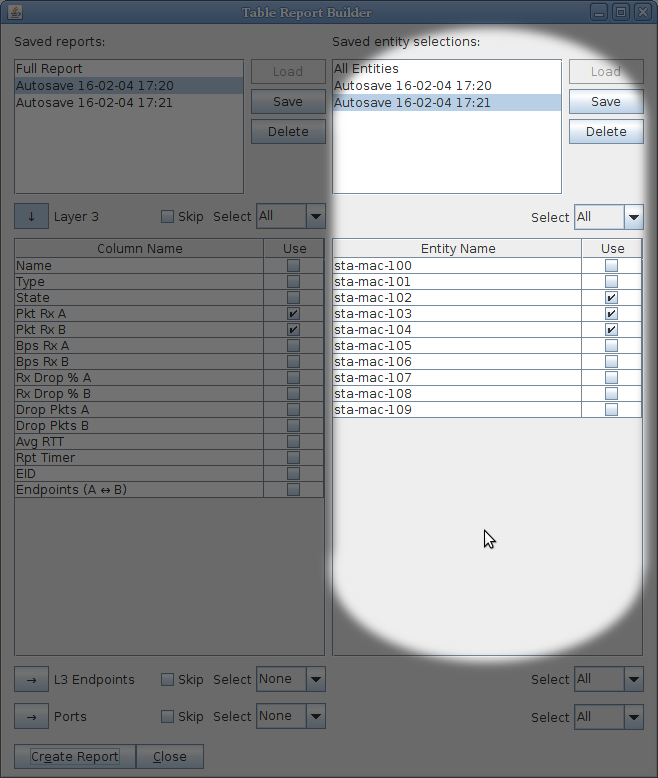
    2. Entity Selections are on the right. This consists of a your combination of Layer-3 connections, L3-Endpoints and/or Ports to report on. These preferences are also saved independently from the profiles. screenshot
  3. Selecting items to include
    1. The Skip button will omit a whole table from the report. Checking and un-checking the skip button will not alter your row selection check boxes. screenshot
    2. The Select drop downs for each table are a short cut for selecting all or unselecting all items in a row.
    3. The [SPACE] and [ENTER] keys are shortcuts for selecting and unselecting checkboxes. These keys will toggle highlighted groups of rows as well.
  4. Saving and Loading a Report Profile
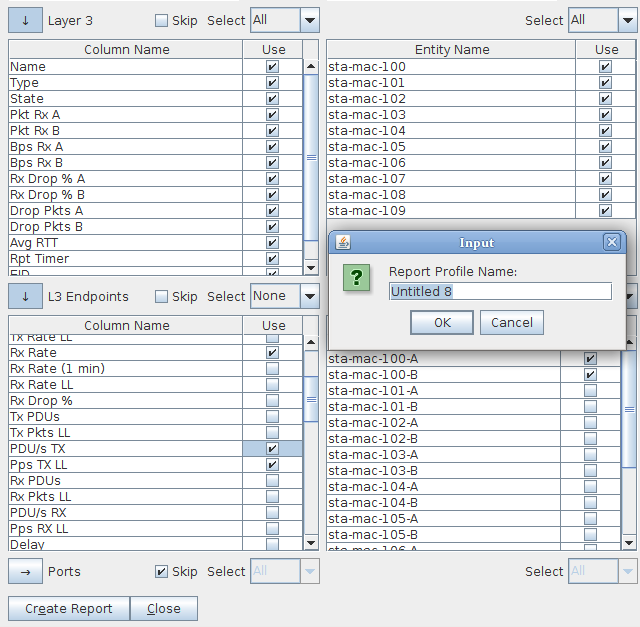
    1. The Save button allows you to save your table row selections. Name your saved profile. screenshot
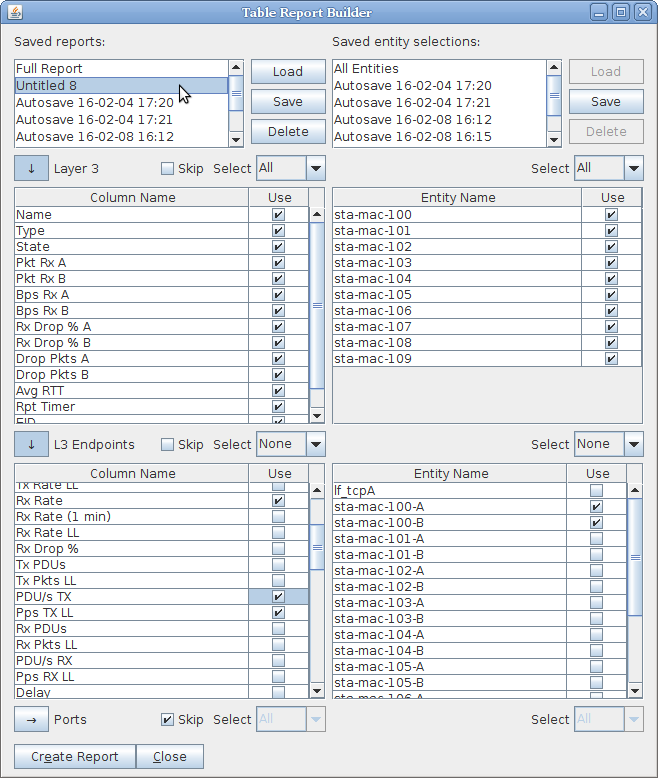
    2. You can restore previous reports profiles. Select a profile name and then click Load. screenshot
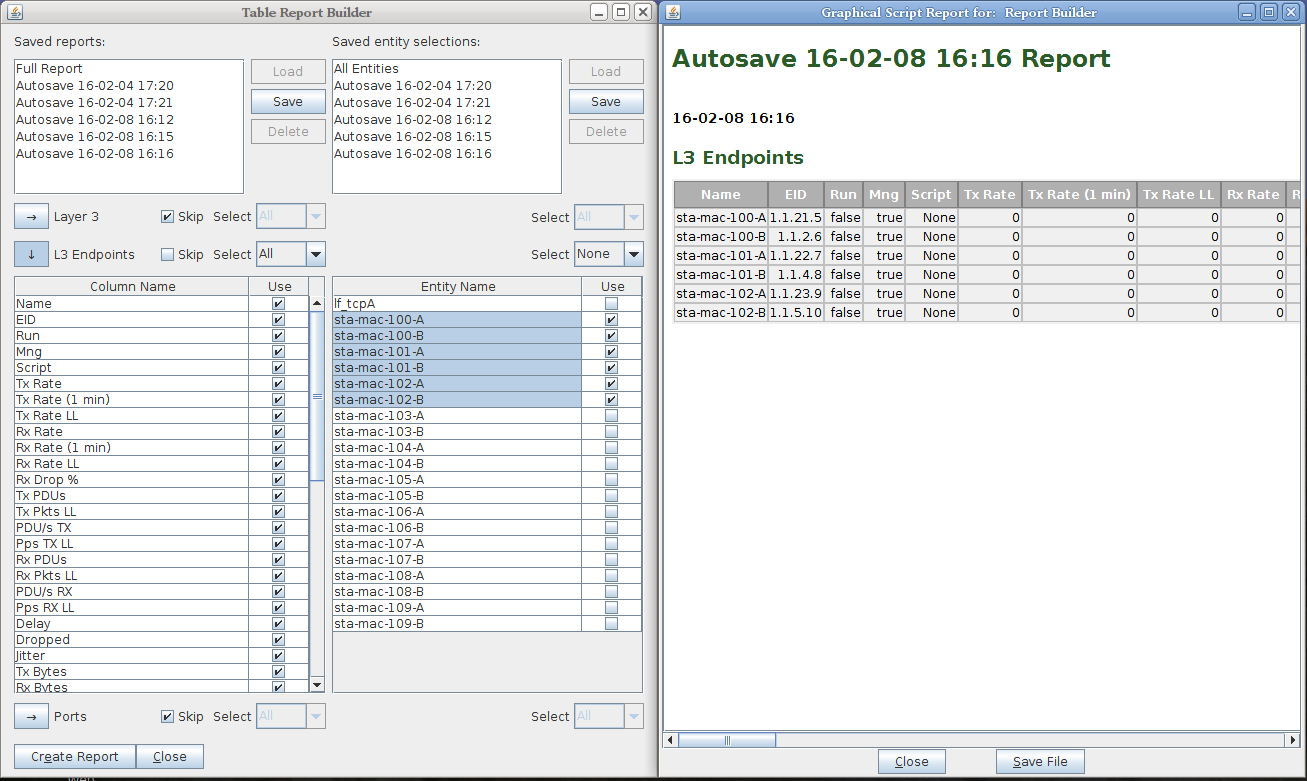
  5. Generating the report is simple, click the Create Report button. Your report will be remembered with an Autosave record. screenshot
  6. Saving the report as a file is easy as well. In the Graphical Script Report window, click the Save File button.

Candela  Technologies, 2417 Main Street, Suite 201, Ferndale, WA 98248, USA
www.candelatech.com | sales@candelatech.com | +1.360.380.1618
Facebook | LinkedIn | Blog